I’ve been messing around with Inkscape a lot recently and have found a few cool tricks. This all originally started as an attempt to recreate an effect I saw on the Inkscape website but quickly evolved into something different.
Here’s an example of the output I achieved.
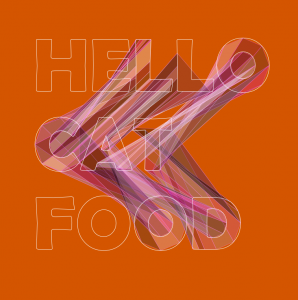
What’s interesting about this is that it’s mostly the work of filters. For this tutorial we’ll be working with text in Inkscape 0.47pre0. To illustrate things better use a font that is very think. Even Arial Black will do. Create two different text objects

The manipulations we’re going to apply to this text will be affecting paths, so we need to convert this text to a path. To do this go to either Path > Object to path or press Ctrl + Shift + C. This separates the text into individual paths as a group. Ungroup them (Object > Ungroup or Ctrl + Shift + G) and then combine them as a single path using Ctrl + K. Next, position the text wherever you want it.
We want to create an extrude between to the two paths. For this you need two separate paths (you created these when you created the text). Click on both of them and then go to Extensions > Generate from path > Extrude.
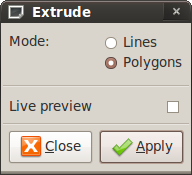
Clicking on Lines will attempt to link each node of one path to the node of another path with just lines, whereas clicking Polygons will do something similar but link them with shapes. Click on Polygons then press Apply.
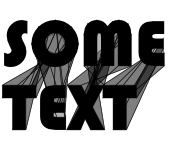
With the new polygons selected pick a hue for it. The reason I specify hue is because we’re going to be modifying the colour next and the filters we will be using will work with the current hue and modify it. As far as I’m aware it can’t modify shades i.e. black or white.
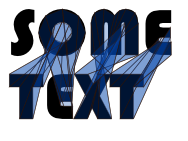
Click on Extensions > Color > Randomise.
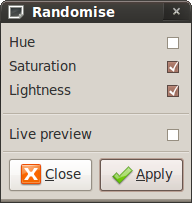
From this window you have several choices. Randomising the Hue lets you have random colours. Randomising the Saturation will randomise the saturation i.e. if it’s a very vibrant colour or slightly dull. Randomising the Lightness will randomise the brightness i.e. if it is completely bright it will go white, if not it will go black. For this I recommend randomising the Saturation and Lightness. To get a preview of the output check the Live Preview option. If you’re not happy with the combination they’ve given you uncheck then recheck the Live Preview. Press Apply when you’re done.
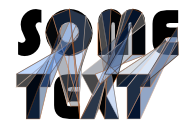
For a finishing touch add a background and change the stroke colour
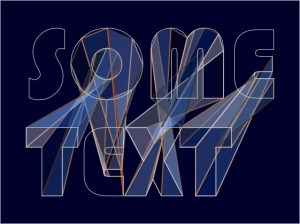
Voila!
What else can be done with this effect? Well, you know that you need two different objects for this to work, so why not work with one object but then split it into two. In the example below I split a rounded square into two shapes then repeated this procedure.
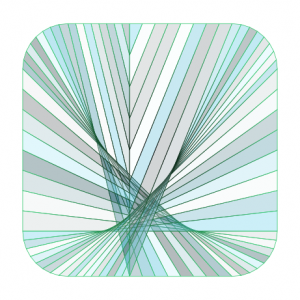
One thing to note is that the more nodes you have the more polygons that will be created
I hope this tutorial has been useful. To extend this try messing around with the Jitter Nodes effect under Generate from Path 😉 For more of my experiments feel free to check out my flickr stream.