On 23rd March the video I made for Light Under The Door by My Panda Shall Fly was released to the public. If you haven’t seen it already, check it out!
This represents a bit of a departure from my usual visuals that feature an onslaught of colour and movement. The track itself is very mellow and dream-like. Having very glitchy visuals just wouldn’t have worked well for this. My approach to making a video for this song was to have a central abstract object that grew and morphed as the song progressed. The background and surrounding objects would move in an erratic but controlled nature, and occasionally the underlying wireframe structure of the environment would be revealed.
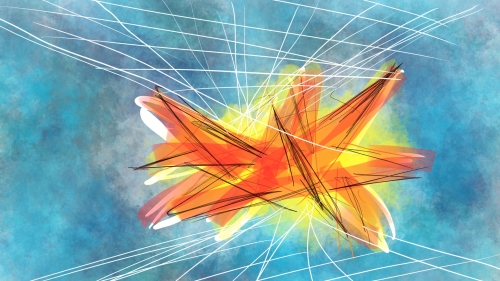
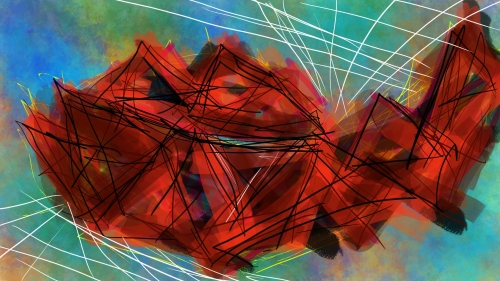
Of course, things always develop as they’re being made.
Will it Blend?
The majority of my video work up until now has been made using Pure Data. Whilst a great live performance tool, it is really hard to control minute details. I knew that learning more about video editing and 3D modelling would be beneficial to my overall artistic practice and so I invested time in learning how to use Blender.
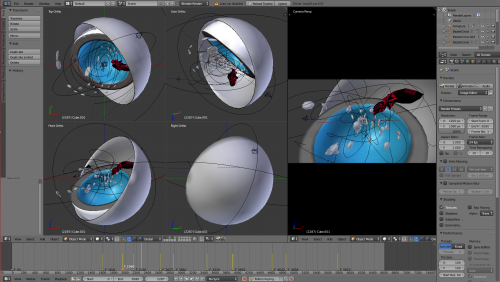
Blender, for those that don’t know it, is the premier open source tool for working in 3D. It is used by an increasing amount of independent games and graphic design studios (often in conjunction with After Effects and Unity 3D) and has many features that make it really easy to use. Oh, and it’s free! I had dabbled in using Blender for many years, often to make small assets for use in Pure Data or other design work. Making this video required me to learn everything from camera tracking and basic Python scripting to F-Curve modifiers – particularly baking sound to F-Curves and the Blender VSE.
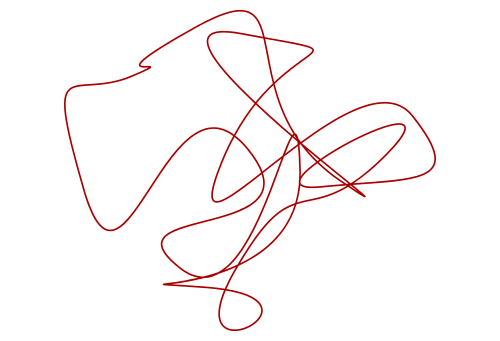
In keeping with my tradition of incorporating randomness, a lot of the movement of the objects is based on external variables. For example, the movement path of the abstract form was determined by a random shape made in Inkscape. The movement of the floating red spheres is being offset (via the Cast modifier) by one of the camera objects which is in itself following a path imported from a random shape made in Inkscape. Phew!
Put a glitch on it!
I didn’t intend to use any kind of “traditional” glitch art in this video. When it was suggested that I glitch the video I was initially quite hesitant as it would have felt, and possibly looked, liked an afterthought. I was up for a challenge and so I sought a way to introduce a tiny bit of glitch art without ruining the the overall clean aesthetic of the video.
With the introduction and maturing of the Freestyle renderer, Blender now has the option to export a scene to SVG files.
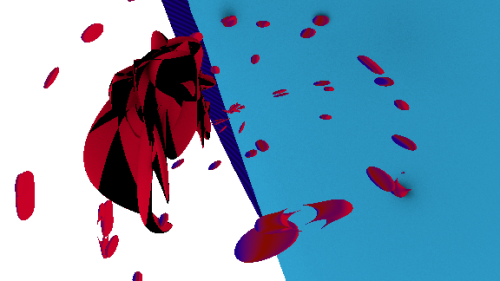
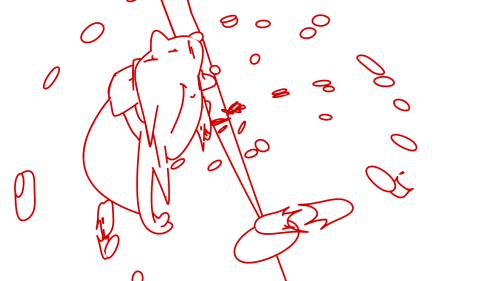
This outline would be a great file to start glitching as it would produce results that weren’t too noisy. After rendering the whole video to SVG files I then converted these to transparent PNGs which I then ran through ucnvs pngglitch script.
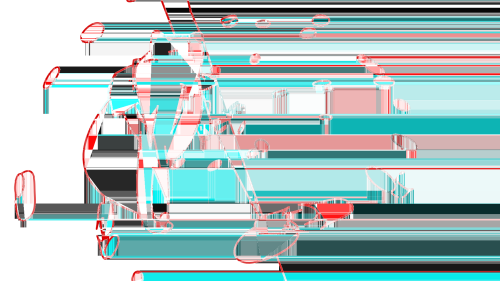
I overlaid this with parts of the video. I made sure to use it sparingly, in a way to mimic the fact that glitches are unexpected bursts of chaos. I think it worked rather nicely!
Feedback
One final addition was the addition of feedback loops. Where would I be without some sort of feedback effect!
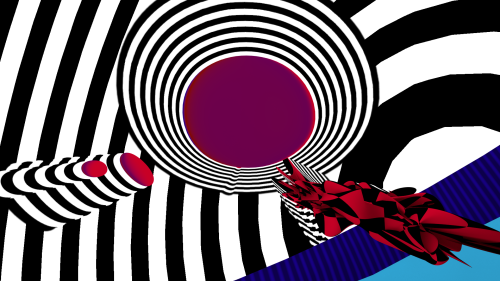
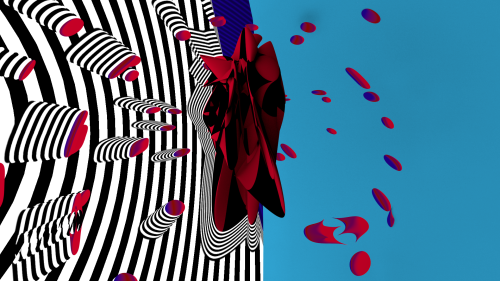
The script that made this was conceived after having had only four hours of sleep. The “wrap around” effect is made by making a copy of an image, inverting the colours, scaling it, and placing it behind the original. Script is below. Tested using Imagemagick on Ubuntu 14.10.
Whilst the results are pretty cool the script is terribly slow. I had to use it on all images that had transparent areas. It took two days to render. If anyone has suggestions for making it faster, or any other programming languages that can do the same thing then I would be interested in knowing!
Update
Patrick Borgeat remade the script using Processing and GLSL. It’s a million times faster than my script so git clone it!
…
You can expect these techniques to be use a lot more in future works. I even aim to make this somehow interactive by using the Blender Game Engine. Watch this space!