Seamless animation
For the Improviz gifs one of the requirements that Rumblesan set is that the gifs loop seamlessly. That is, one would not be able to tell where the gifs beings and ends. In Blender making an animation seamless is pretty easy. There’s lots of examples out there but for completion here’s my simple take on it.
With the default cube selected press I and then press on Location. This inserts a keyframe for the location (this menu can also be accessed in Object > Animation > Insert Keyframe). On the Timeline at the bottom move the animation 20 frames. Then, move the cube to somewhere else.
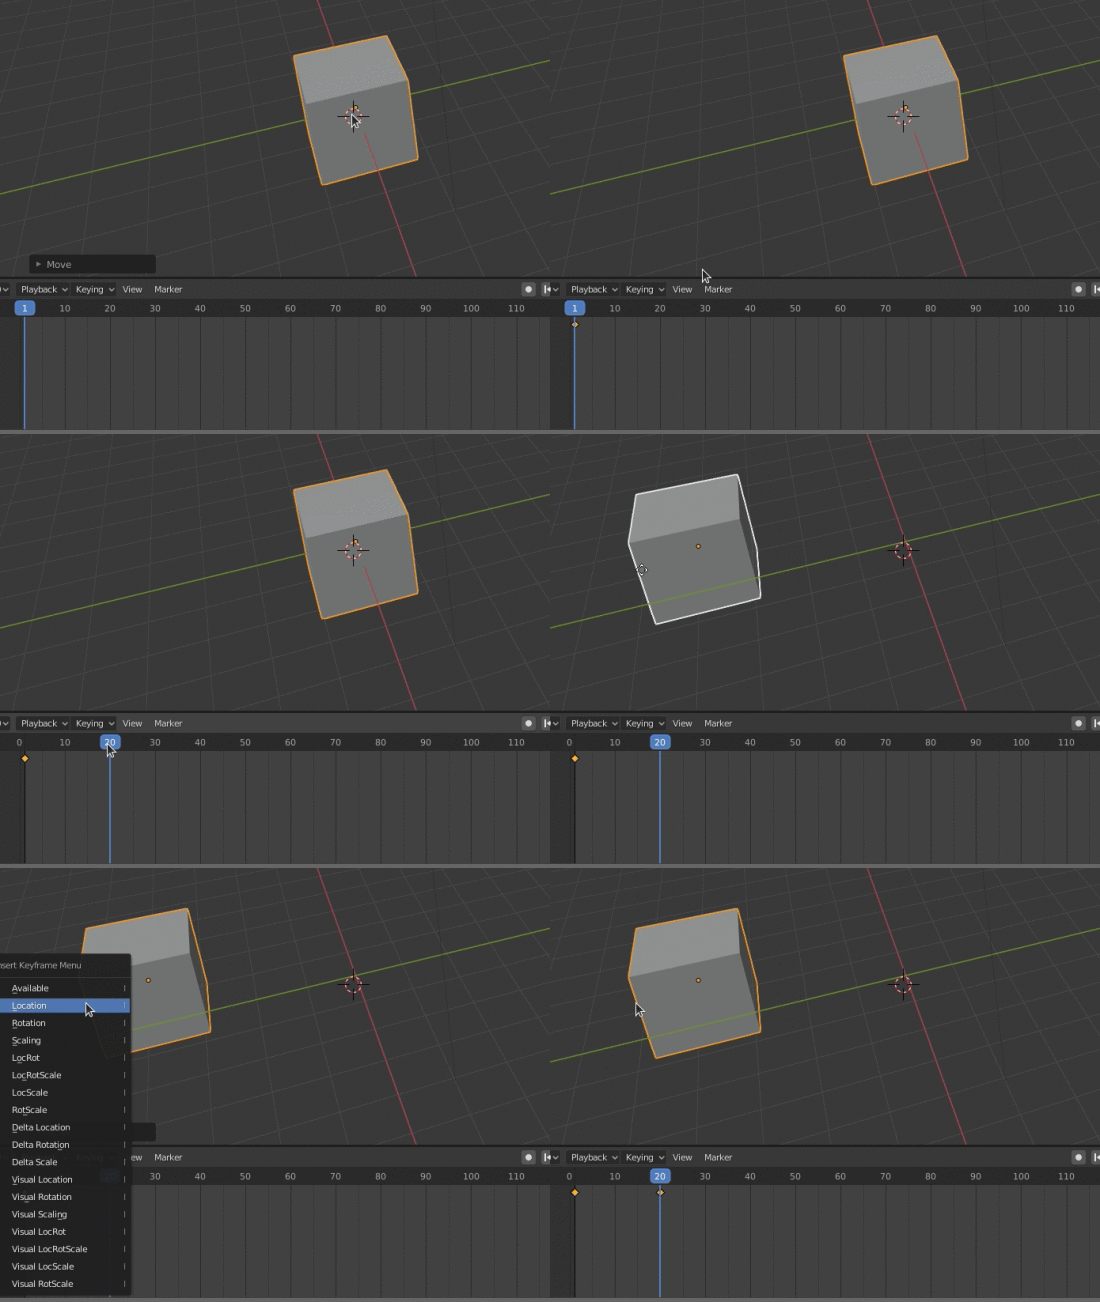
Now press I to insert a keyframe for the location. Ta da! You now have an animation! To make it loop we need to repeat the first keyframe. On the Timeline go forward another 20 frames (so you’re now on frame 40). In the Timeline select the first keyframe. Press Shift + D to duplicate it and then move it to frame 40.
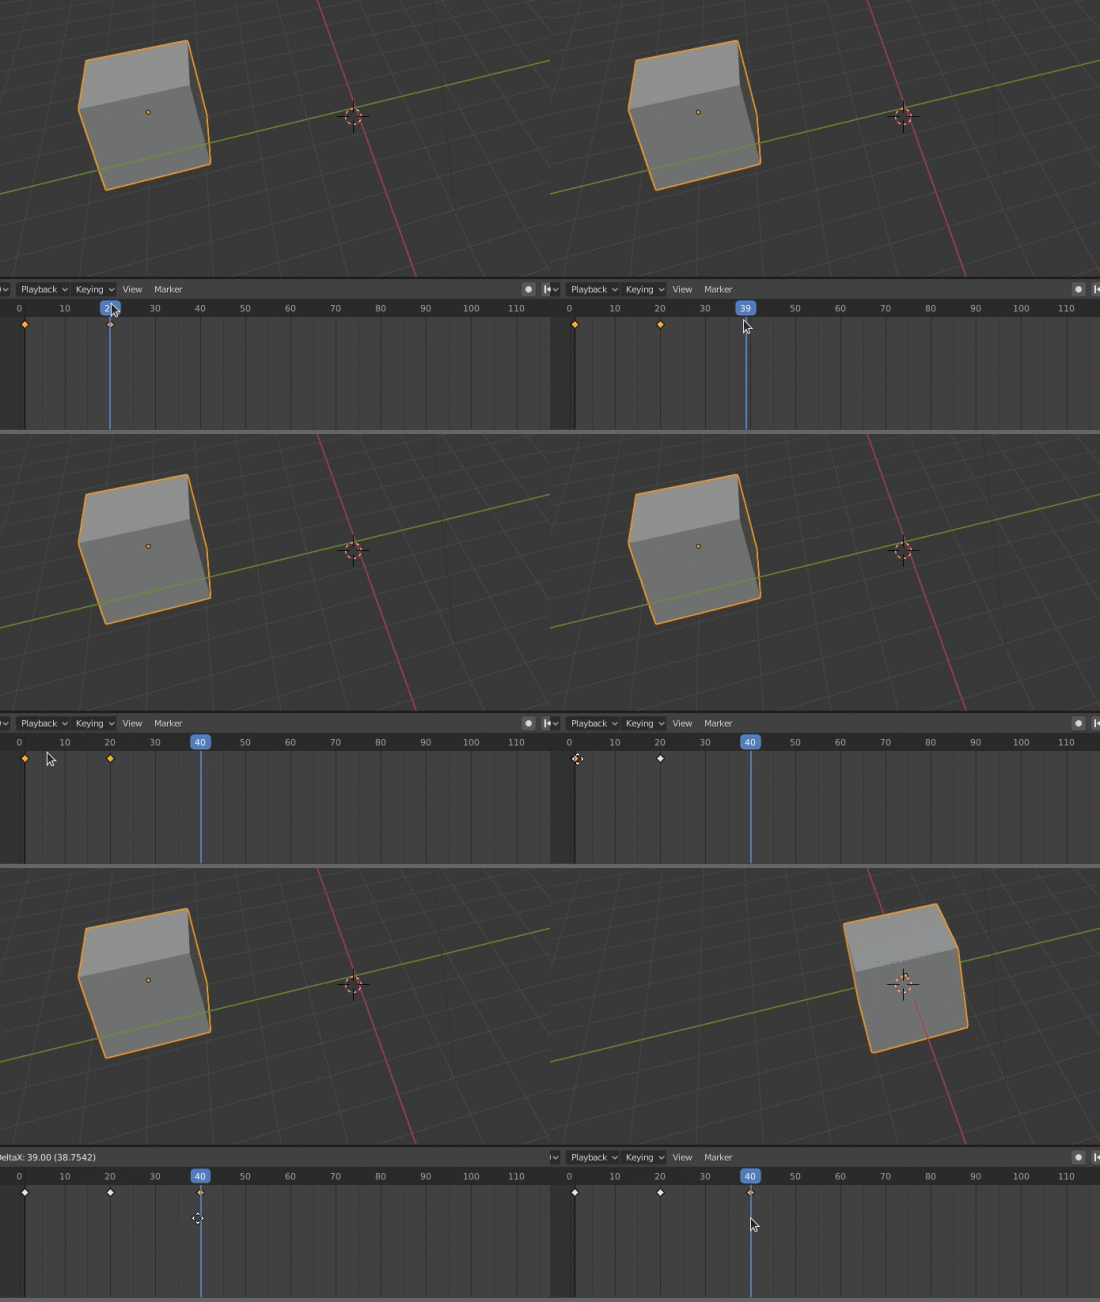
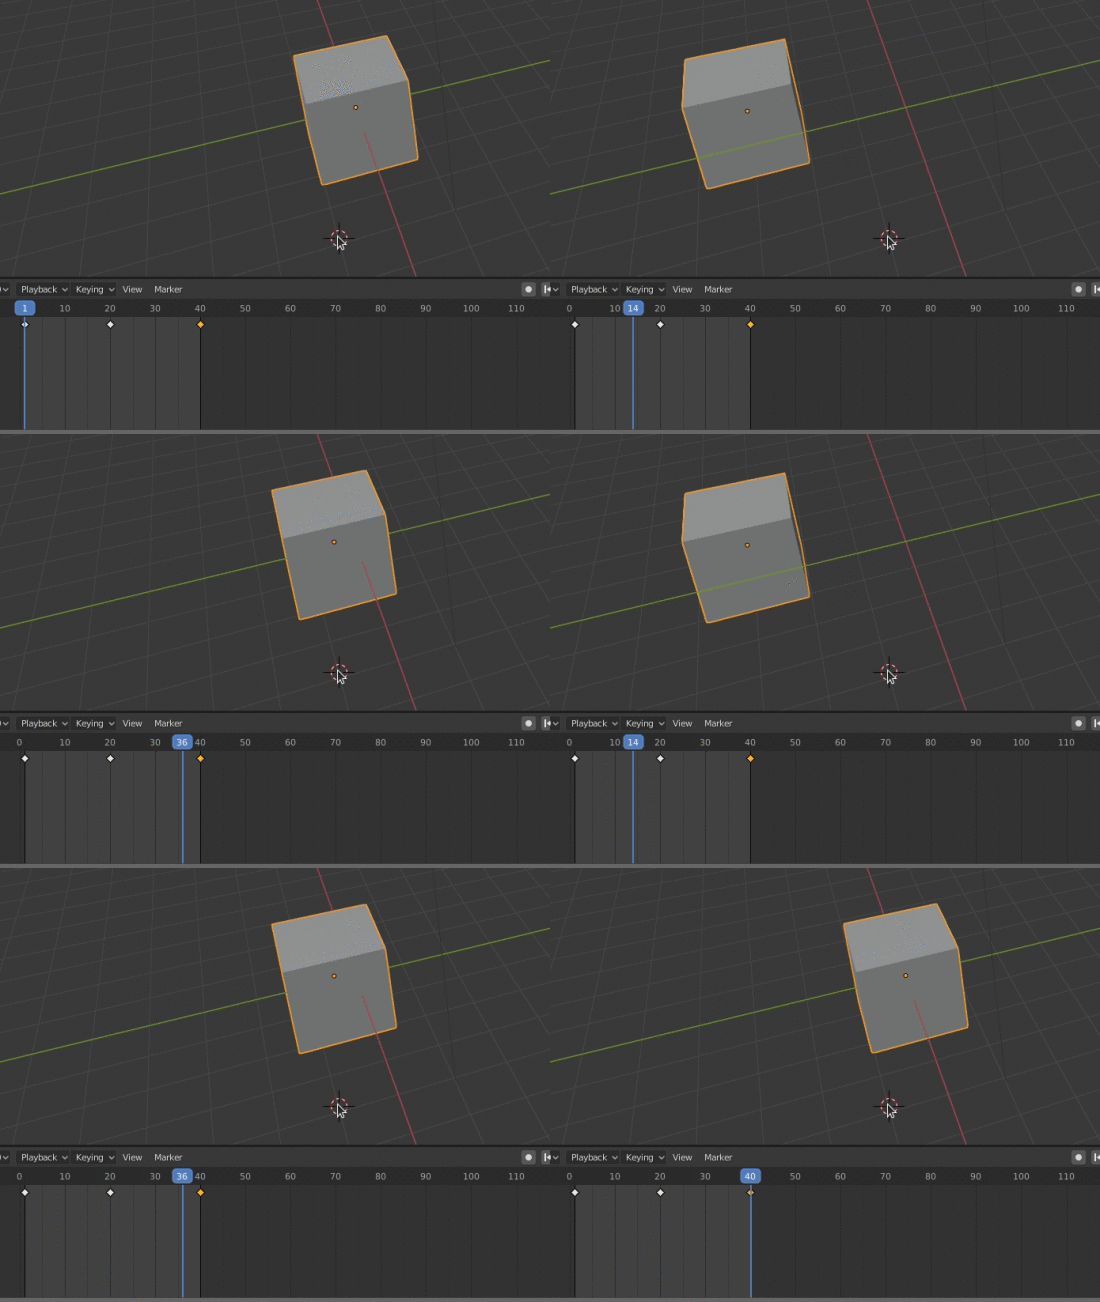
Set the end of your animation to be frame 40. Now when you press play (space bar) the animation loops seamlessly!
As an aside if you’re interested in animation check out Eadweard Muybridge. And if you’re into Pure Data check out this tutorial I made in 2017.
Seamlessly loop Wave Modifier
So, that’s one easy way to make a seamless looping animation. However, Rumblesan was more interested in are gifs that warp and morph. This is one example he sent me.
In Blender one really useful modifier for making these animations is the Wave modifier. In fact, looking through all of the gifs in 2020 by that artist (Vince McKelvie) it looks like he makes extensive use of this modifier. I love how simple it is to get distorted objects without much effort.
The one thing I’ve always found difficult is making the looping of the waves seamless. I haven’t seen many tutorials on achieving this, and those that I have found rely a bit on guesswork, which isn’t ideal. So, I set out to understand this modifier. After a lot of trial and error and “maths” I finally consulted the documentation and started to figure it out! The documentation on this modifier is quite good but here’s my alternative explanation which may help those who think in a similar way to me.
To get your wave lasting a specific duration, first you need to know how long you want your animation to last. For this example I set mine to 50 frames.
You then need to decide on the Width of the waves. The smaller the number the more ripples you’ll have on your object. This value is relative to the object. So, if you set it to 0.10 you’ll have 10 ripples through your object. If you set it to 1 you’ll have one ripple. I’ve set mine to 0.25.
For the Speed you need to do a bit of maths. Copy the value of Width (0.25) and in the Speed argument enter: (0.25*2)/50. Replace 0.25 with whatever value you set for Width and 50 with however long your wave animation lasts before it loops. Another way to represent this would be:
Speed = ($width*2)/$animationlength
The animation loops however the waves don’t affect the whole object. This is because we need to add a negative offset so that the wave starts before the animation is visible. This is where we need more maths! Enter this into the Offset value:
((1/0.25)*50)*-1
The first part, 1/025, is to work out how many times we’d need to repeat the Width before the whole object has ripples throughout it. We multiply by 50 as that is the animation duration. Then, we multiply by -1 to get the inverse, which because the offset. Another way to represent this would be:
Offset = ((1/$width)*$animationlength)*-1
And now the whole object has waves through it and loops seamlessly!
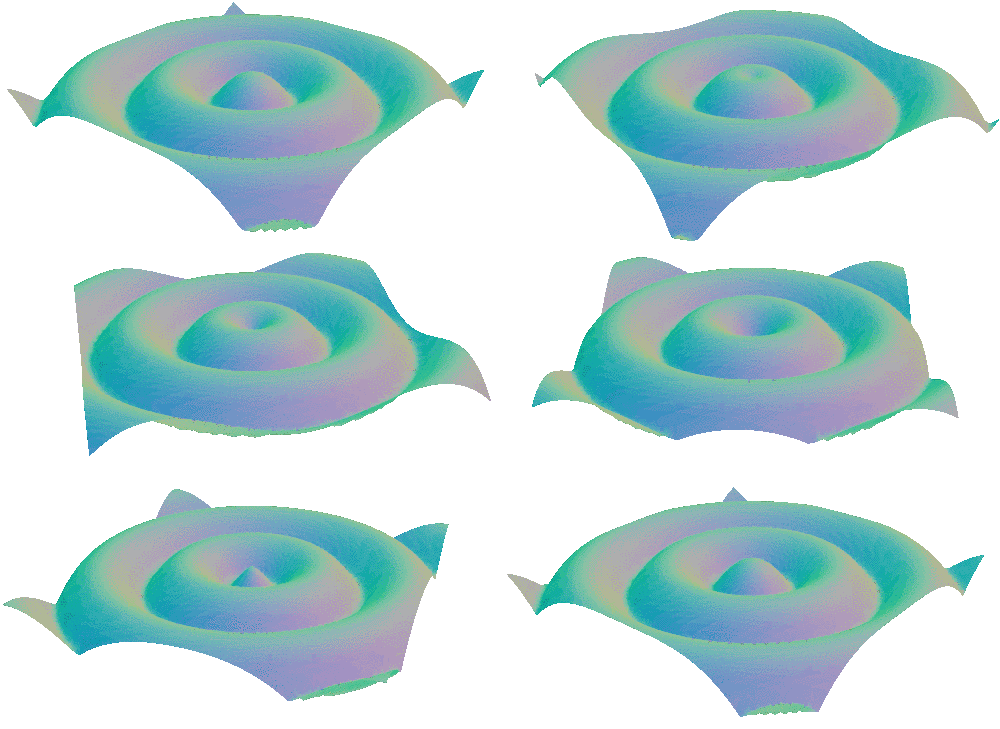
Ta da!
Since I originally made the gifs I have found that there are alternative methods for achieving a wavy object which rely on the displacement node and Displacement modifier or the Lattice or Cast modifier. These solutions have much more documentation but I’m glad I spent the time figuring out the Wave modifier.
