Creating the Basic Waveforms artwork
Author's note — 30.07.2026
On Friday 4th December Charles Céleste Hutchins released a new EP, Basic Waveforms, and I was happy to create the artwork for it! Charles had already had a go at creating artwork for it but I jumped in and said I could probably create something based on it.
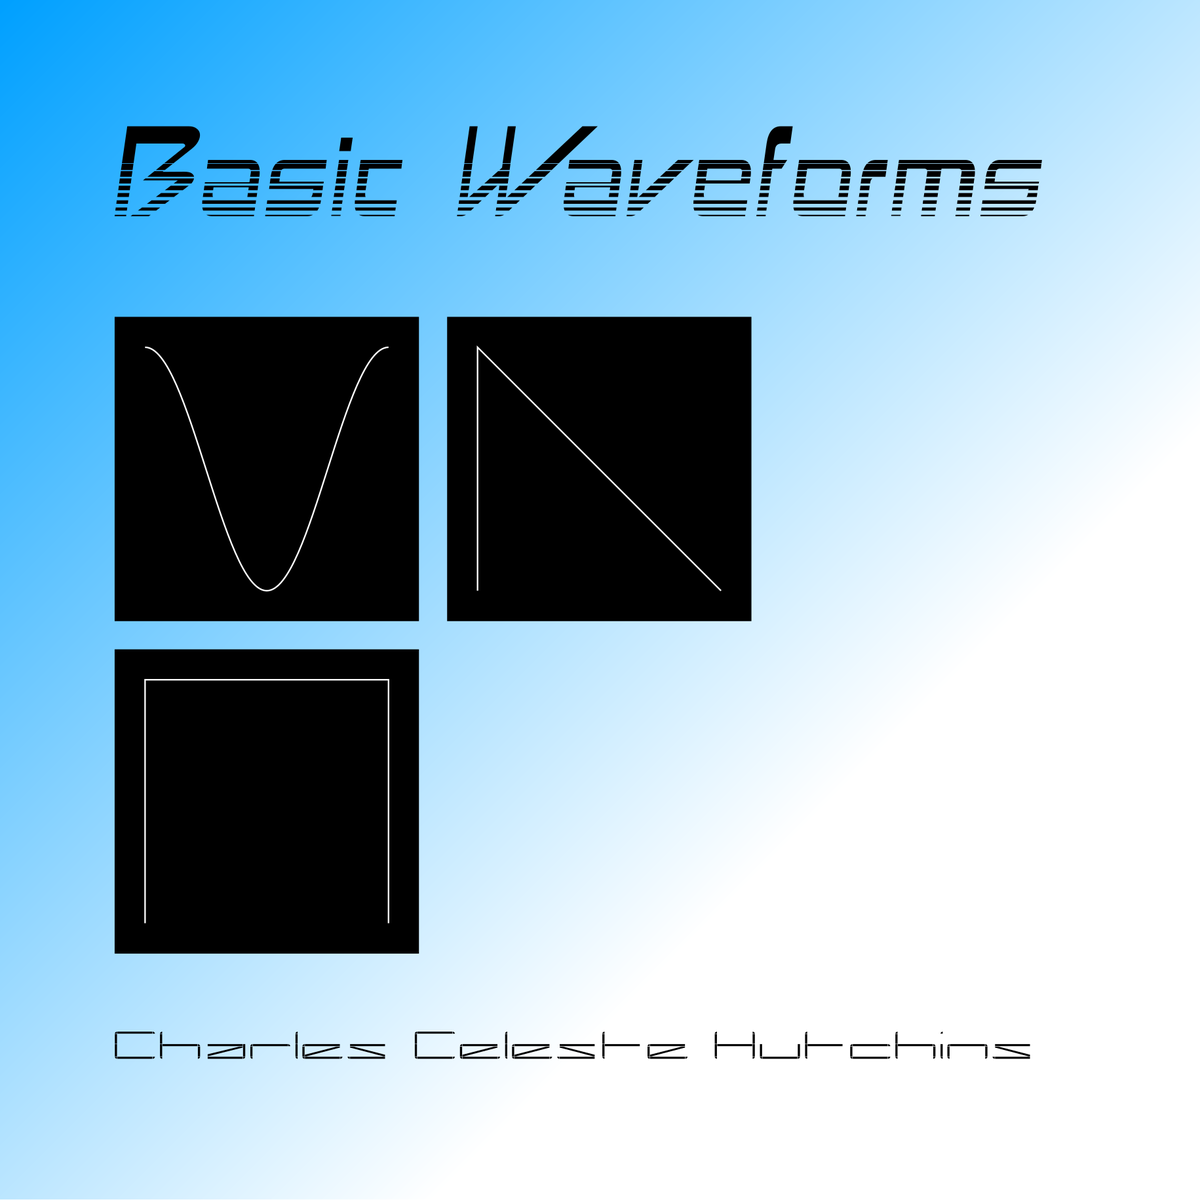
Before I get into how I made the artwork you should definitely listen to and buy the EP.
I already knew that I wanted to use analog video synthesis to create the artwork. For those not in the know, video synthesis is similar to audio synthesis, but instead of +1 to -1 doing amplitude things, think of it as going from white (+1) to black (0) to white (-1). This creates vertical lines on a screen. The higher the frequency, the more lines there are. The higher the amplitude the more visible the lines are. Of course there’s a lot more to this but that basic explanation should suffice for now.
I have a modular video synthesiser featuring a bunch of modules primarily from LZX and Syntonie. Check out my full setup on Modulargrid if you’re interested.
Hydra alternative
Side note, you can always take a step into video synthesis without shelling out a lot of money by using Hydra from Olivia Jack. Here’s an example of a few waveforms with help from a plugin by kandid.
Back to video synthesis
The first stage was building the video patch for each waveform. LZX’s DWO3 module is responsible for most of it. I just modulated some vertical square waves with either a horizontal sine, square, or triangle wave.
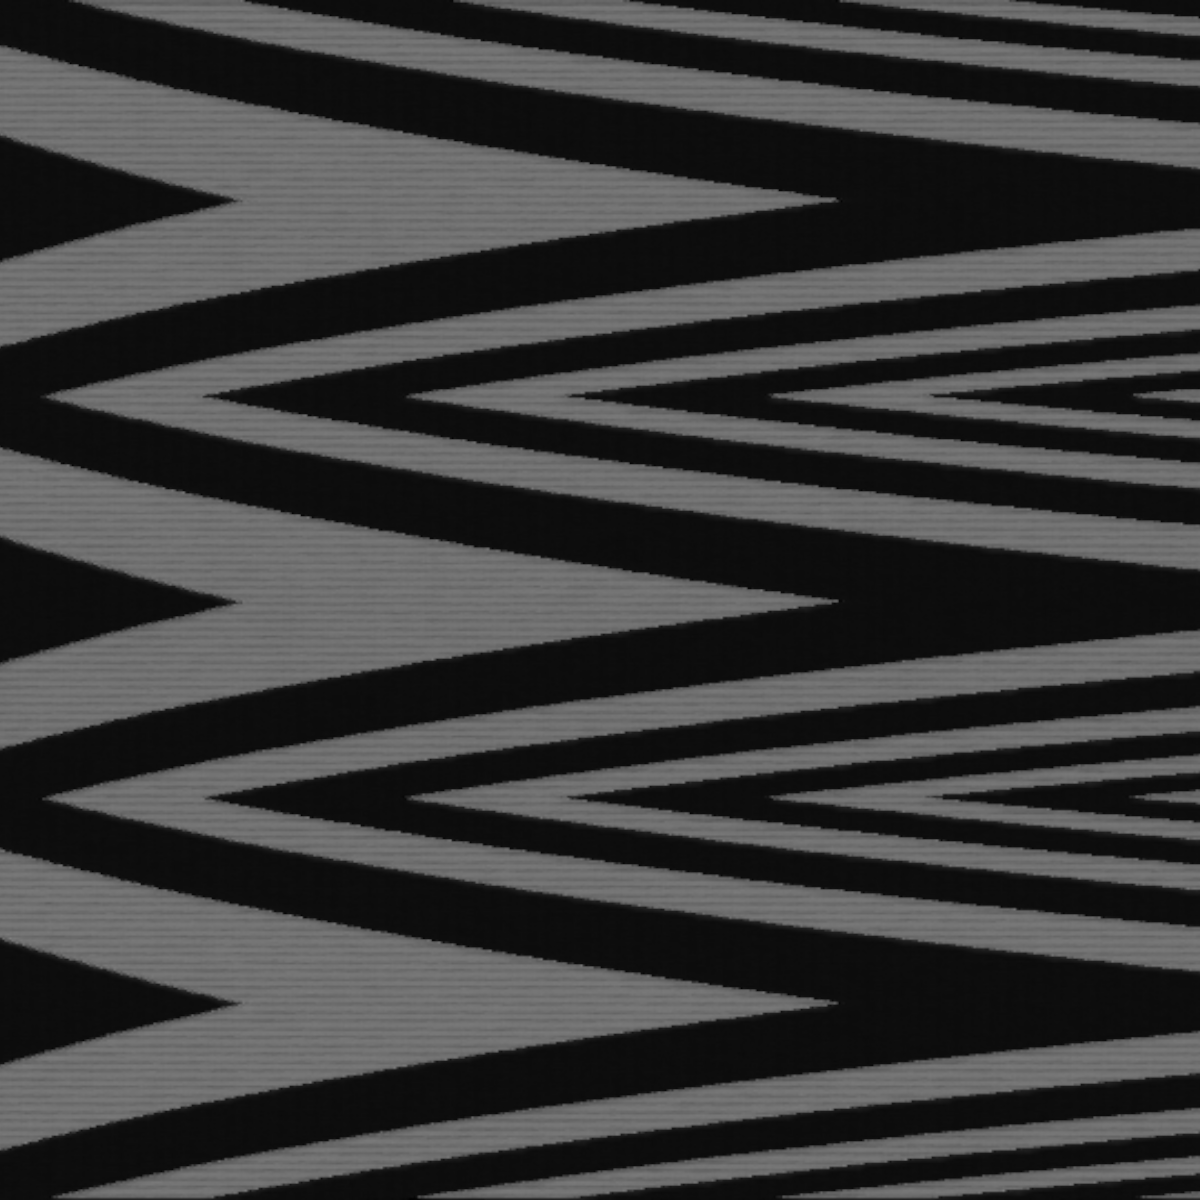
I also created a video for each track. The Univer Inter midi to CV module made creating a timeline for the video really easy as I could create a midi sequence using any software on that could output midi.
Originally I wanted to use Ossia to send out midi values but I couldn’t get it to work exactly how I wanted so instead I used Ardour which might sound like a surprising choice!
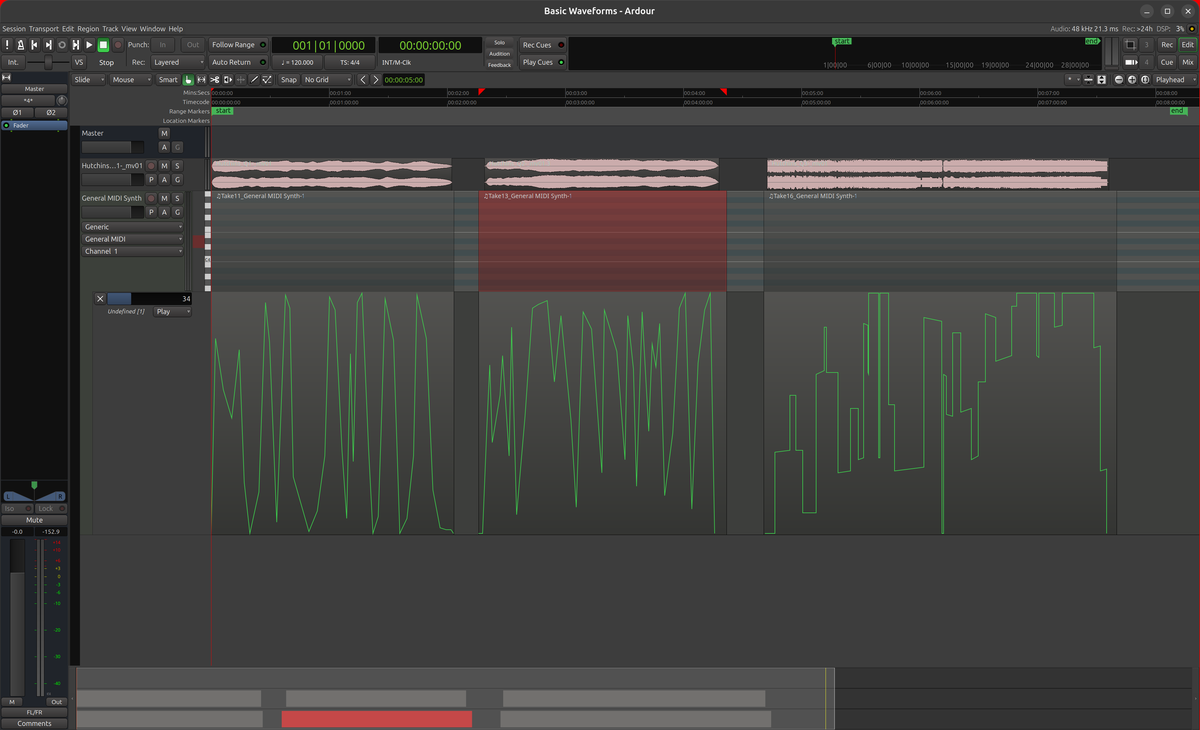
In Ardour I created a CC automation track and tried to make the values reflect the intensity of the music. This was sent to Univer Inter over USB and then to the CV input of a few different eurorack modules.
With all the automation set up I hit play and recorded the video using OBS. I also controlled the video synthesiser manually for some parts to avoid it feeling too robotic. Here’s a bit of me recording the Squares track.
So that’s everything done, right? Nope! I really liked the output but felt it looked a bit too clean despite it being the output of a noisy analog setup. I wanted to have a few more subtle imperfections, similar to the CRT shaders that you get on things like Retroarch. I could have used the brilliant ntsc-rs plugin to achieve this but even that didn’t feel right.
Here’s a section of the Sines track as captured from OBS from a cheap composite capture card.
A common practice in the video synth world is something called rescanning, which is basically pointing a camera at a screen and recording the output. There’s a few reasons that you might want to do this including upscaling and for glitch art, but for my purpose the screen itself would introduce some hopefully subtle artefacts and make it look more authentically analog. One small problem: I don’t own a CRT! They’re getting expensive to buy (even second hand) and I needed one by the next day. Luckily Vivid Projects have several so I ventured there to use one.
Using a HDMI to composite adaptor I sent my laptop video out to an old Trinitron TV. Aaaand then the TV exploded! It was actually quite dramatic. It made a poof sound and then the magic smoke was released from the back. After apologies were given and the smoke cleared I opted to instead use a much smaller black and white CCTV monitor. I again loaded up the video into OBS and used a combination of Stable and CVB001 eurorack modules to have some control over contrast and saturation.
Once home I finally brought in all of the footage and did some basic cropping and perspective editing. A last-minute change I made was to show the TV frame. I think it helped to give context and show that it really is a CRT and not just a filter. There’s also a little bit of ghosting and screen flickering due to refresh rates of the camera and screen, but again I like it!
For the final EP cover I put the artist and title text on separately using GIMP as it was too blurry from the CRT rescan.
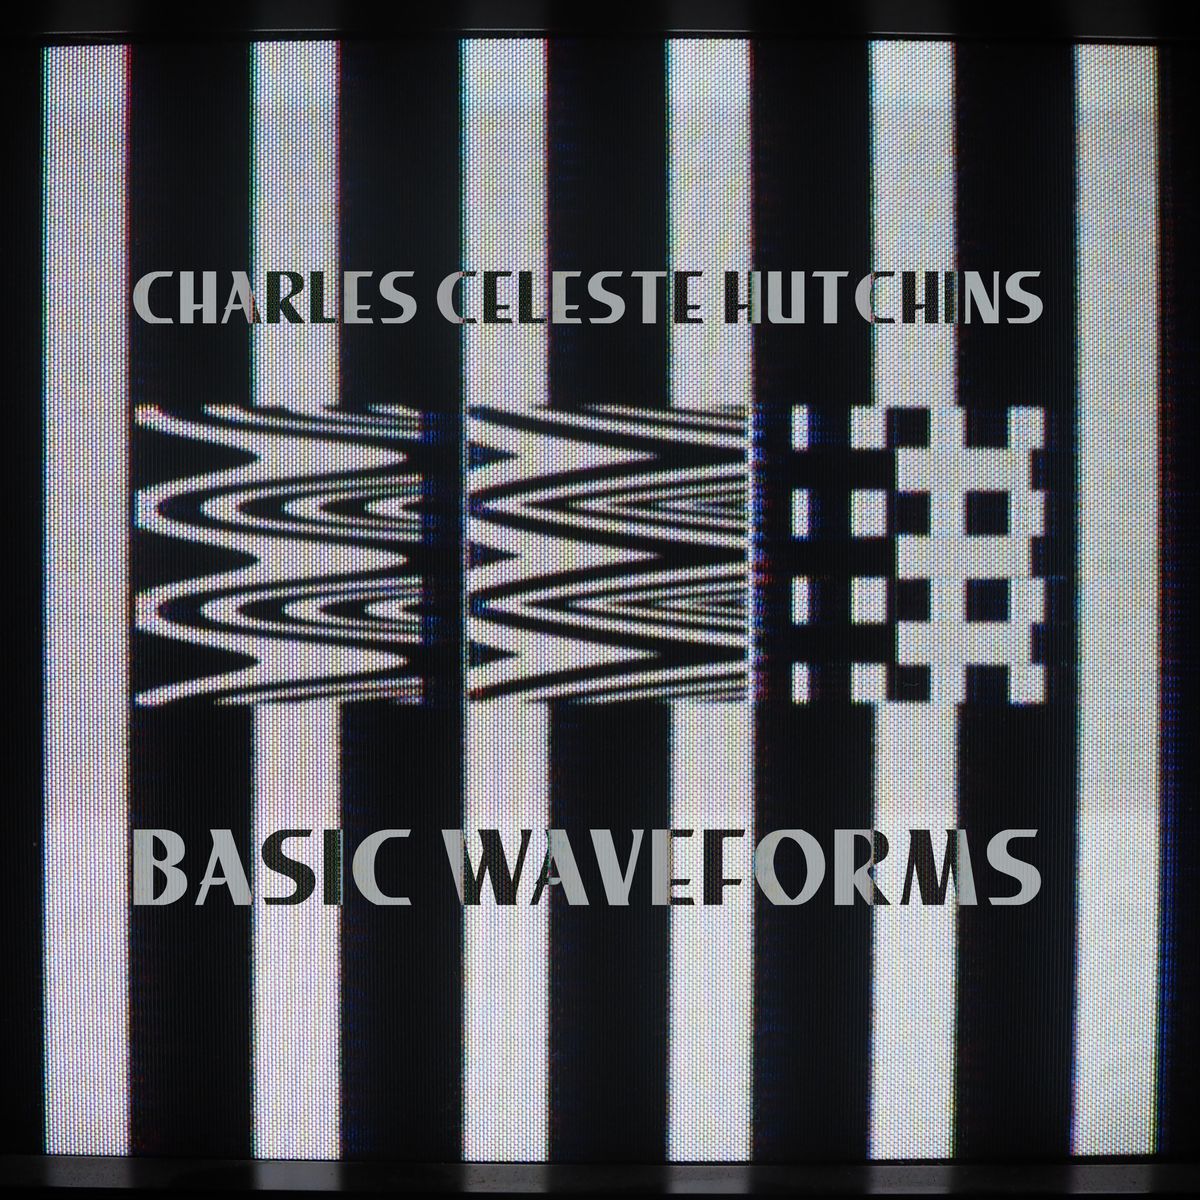
Overall I’m really happy with how it all turned out and I enjoyed the multi-part process of making it!
You should definitely go support Charles and buy his EP!