tag: Blender

Nodes

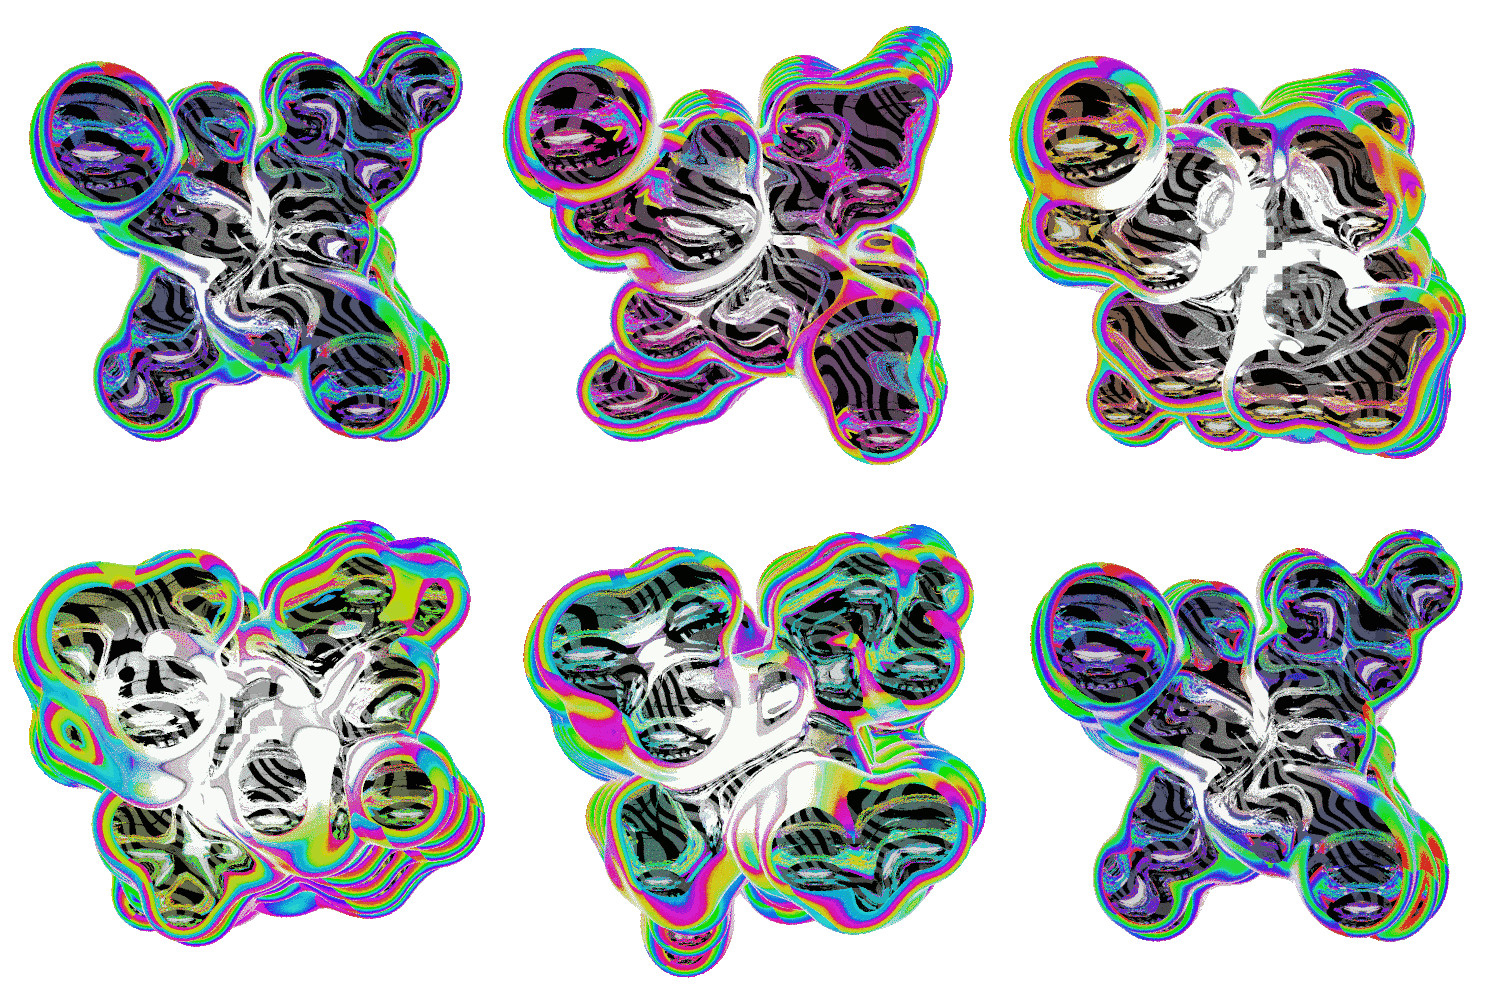
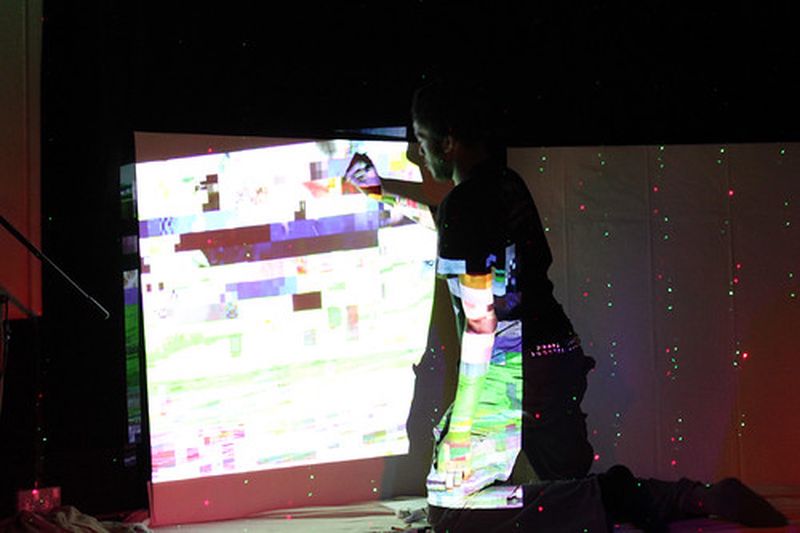
Nodes is a new commission created for the Peer to Peer: UK/HK online festival which ran from 11th - 14th November, created as a reflection on the interconnectedness of the global live coding community.

Live coding is a performative practice where artists make music and visual art live using programming. This happens primarily at events such as Algoraves, but there is an equally active online community which organises regular performances, conferences, workshops and more.
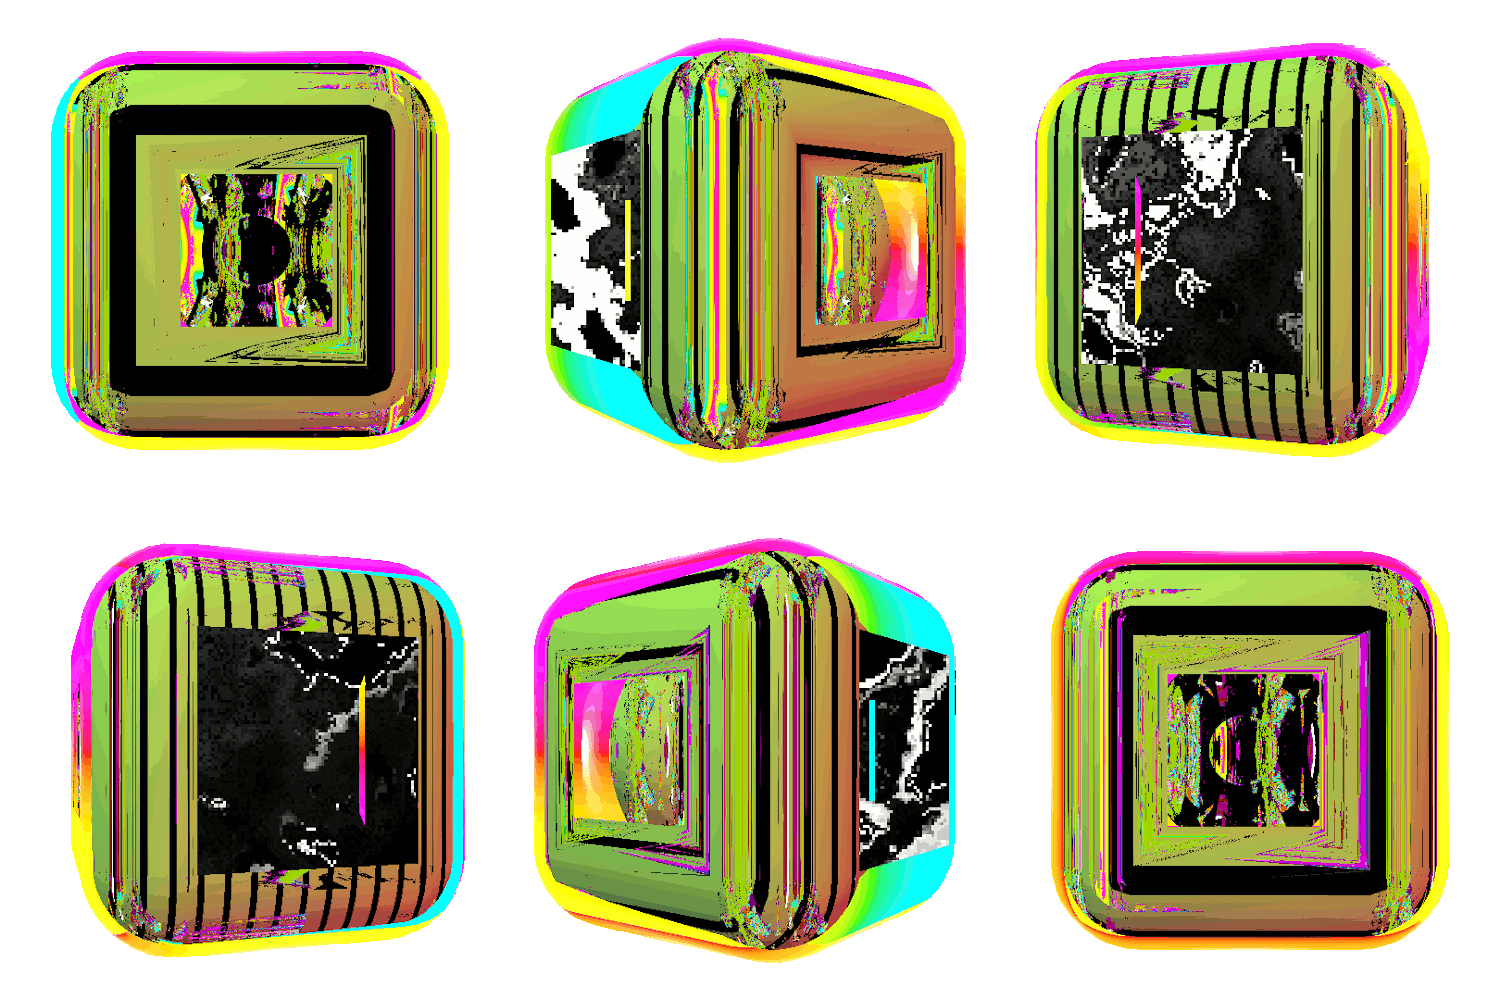
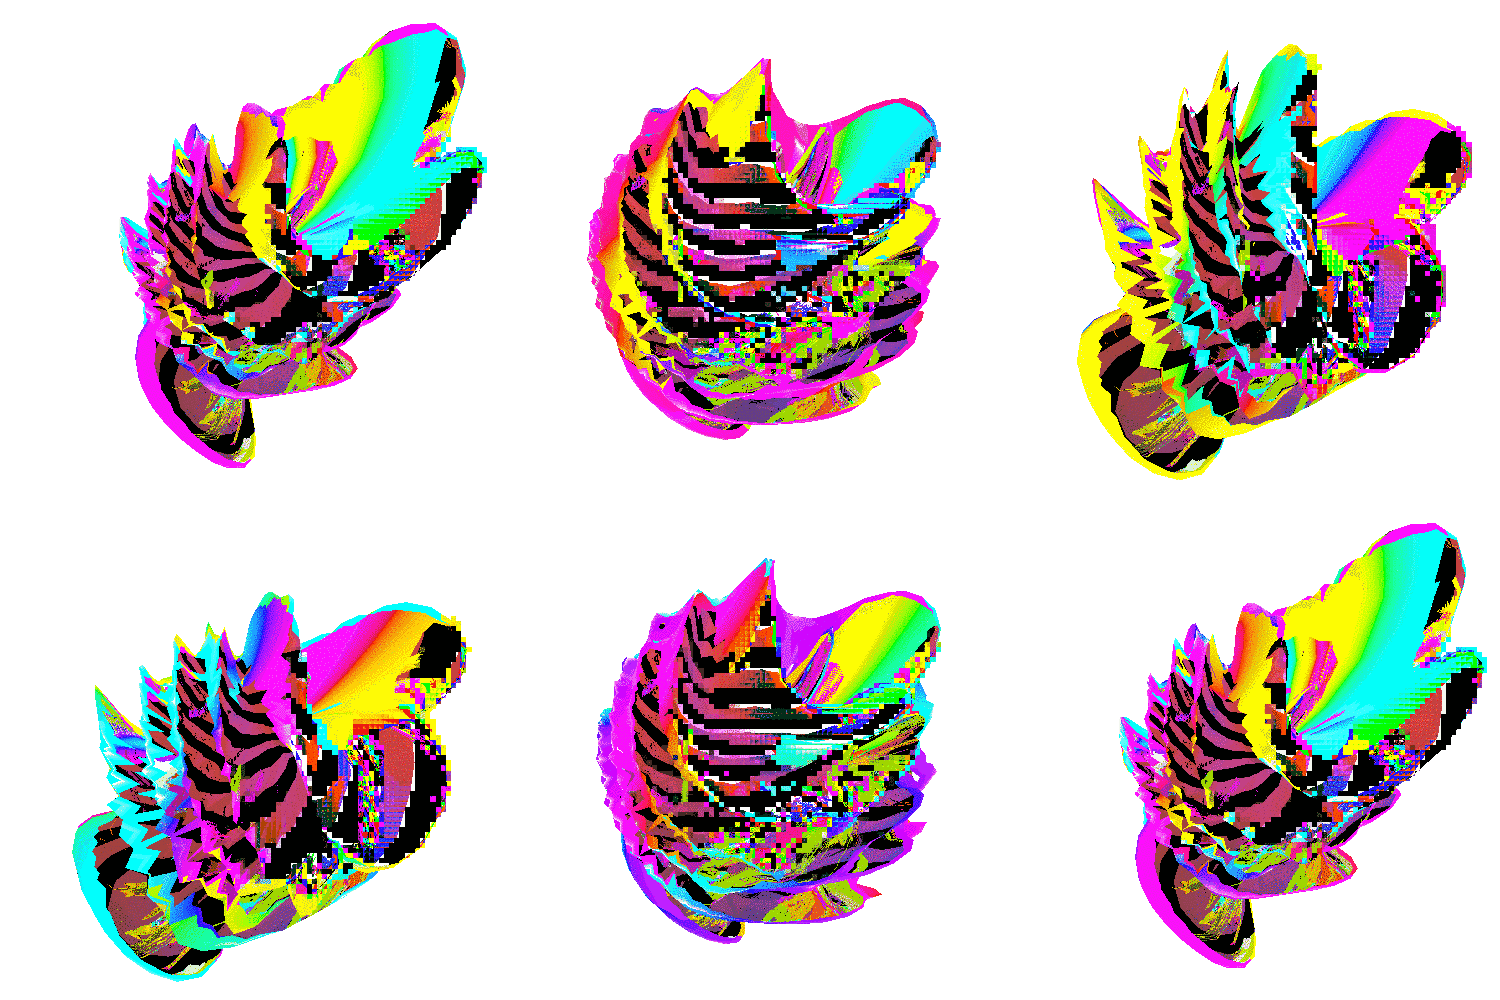
Gif Pack #1

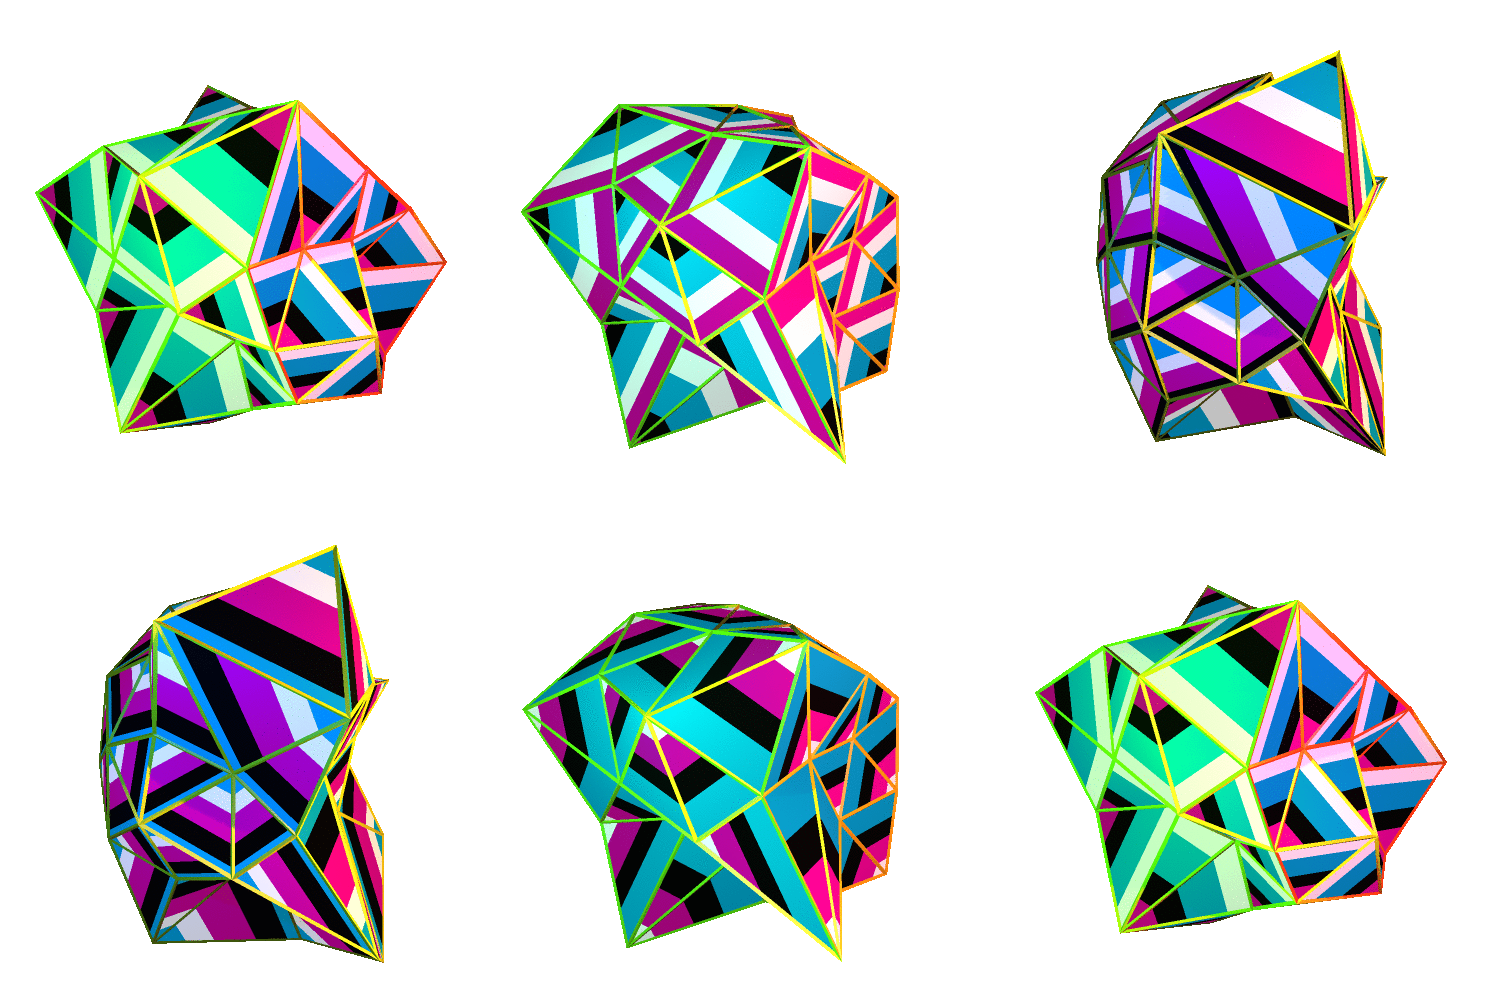
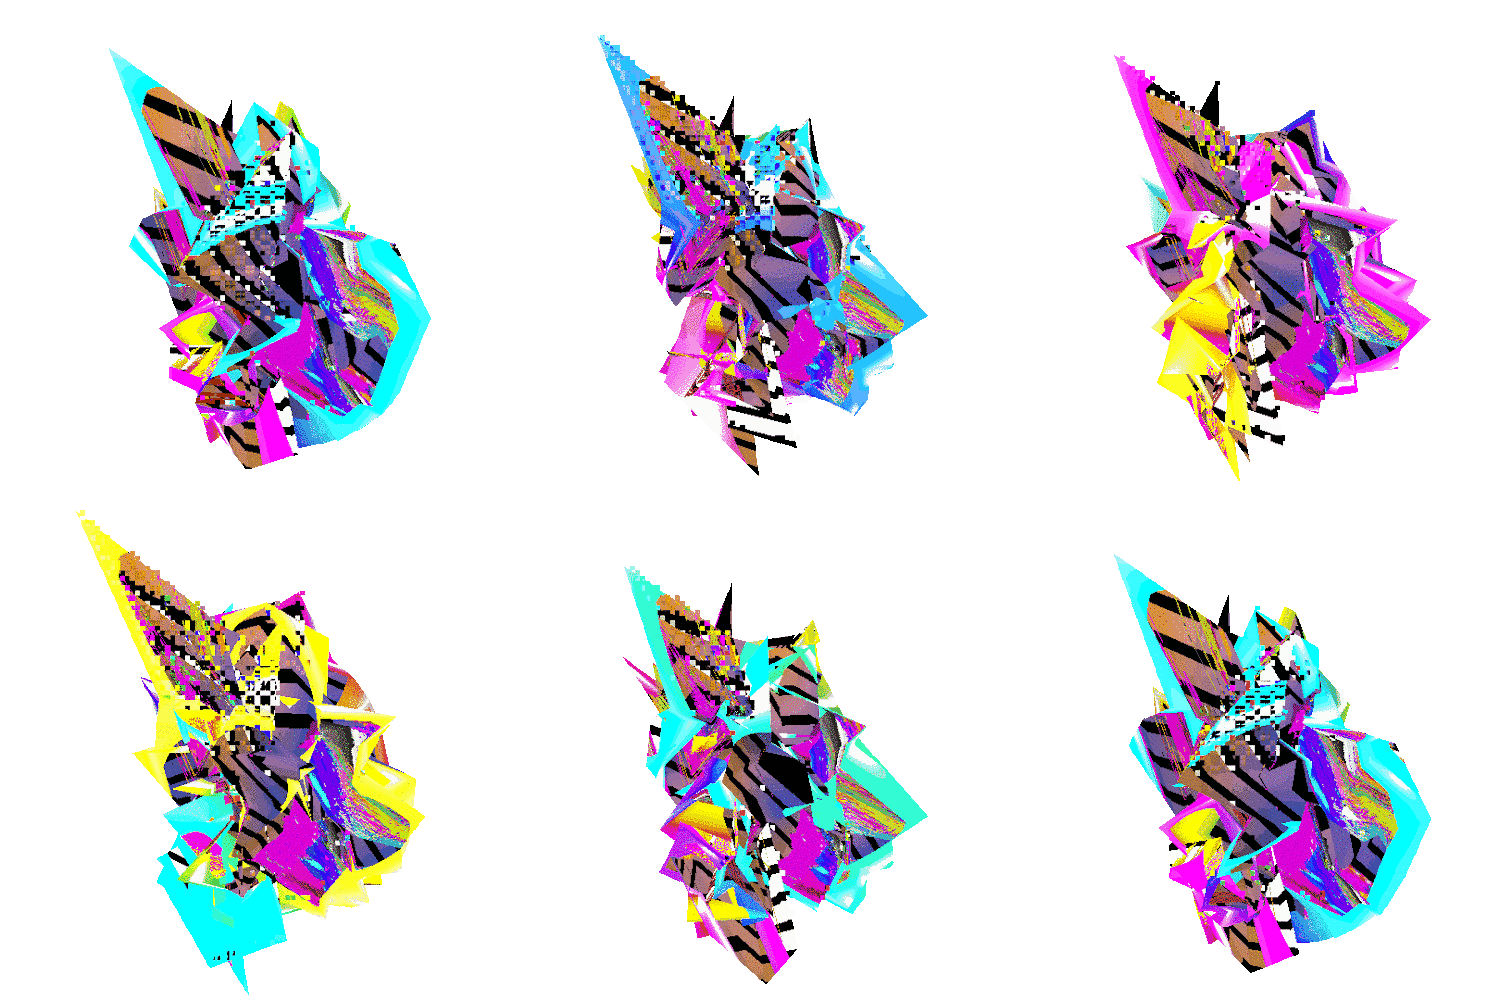
Between projects I often make little animations. Sometimes they’re made as a result of learning new software and sometimes I make them to test out an idea or technique.

I’ve decided that I’ll start a regular thing on this here blog - hopefully monthly - where I share some of those gifs and other little animations.

Gif Pack #1

Gif Pack #1

Gif Pack #1

Gif Pack #1


Seamless Looping Neon Trail in Blender

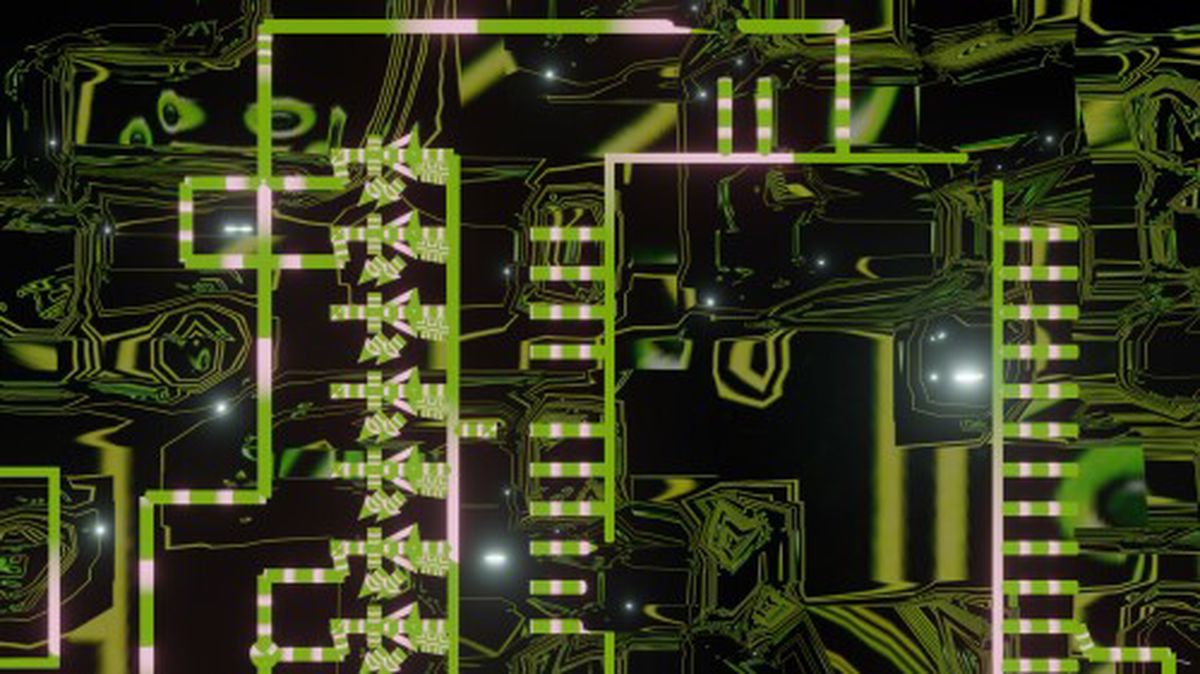
I’d like to return to the fifth video in the Design Yourself series to show how i did a glowing neon trail. The video is heavily themed around robots, and if you look in the background you’ll see that it’s actually a circuit board.

Seamless Looping Neon Trail in Blender

The circuit diagram was a random one I built using the rather excellent Fritzing software. If you’re ever looking for high quality SVG illustrations of electrical components then Fritzing is a great resource. I brought the exported SVG diagram into Blender to illustrate it a bit.


Typewriter Text Effect Revisited

For the fifth video in the Design Yourself series I was faced yet again with the task of doing a typewriter text effect. Yay… For each of the videos the participants wrote a poem to go with it. The poems were a really important part of the video so they needed to have a prominent role in the video beyond standard Youtube subtitles. At the time I was producing the video I didn’t yet know whether or not I wanted to use the typewriter text effect but I certainly wanted to explore it as a possibility. One of the first times I tried to achieve this was back in 2019 when I was making the video to promote the Algorave at the British Library.


Seamlessly loop Wave Modifier in Blender

Seamless animation

For the Improviz gifs one of the requirements that Rumblesan set is that the gifs loop seamlessly. That is, one would not be able to tell where the gifs beings and ends. In Blender making an animation seamless is pretty easy. There’s lots of examples out there but for completion here’s my simple take on it.

With the default cube selected press I and then press on Location. This inserts a keyframe for the location (this menu can also be accessed in Object > Animation > Insert Keyframe). On the Timeline at the bottom move the animation 20 frames. Then, move the cube to somewhere else.


Overlaying multiple textures in Blender

In 2019 I made an internet artwork for Fermynwood’s programme Toggler.

Overlaying multiple textures in Blender

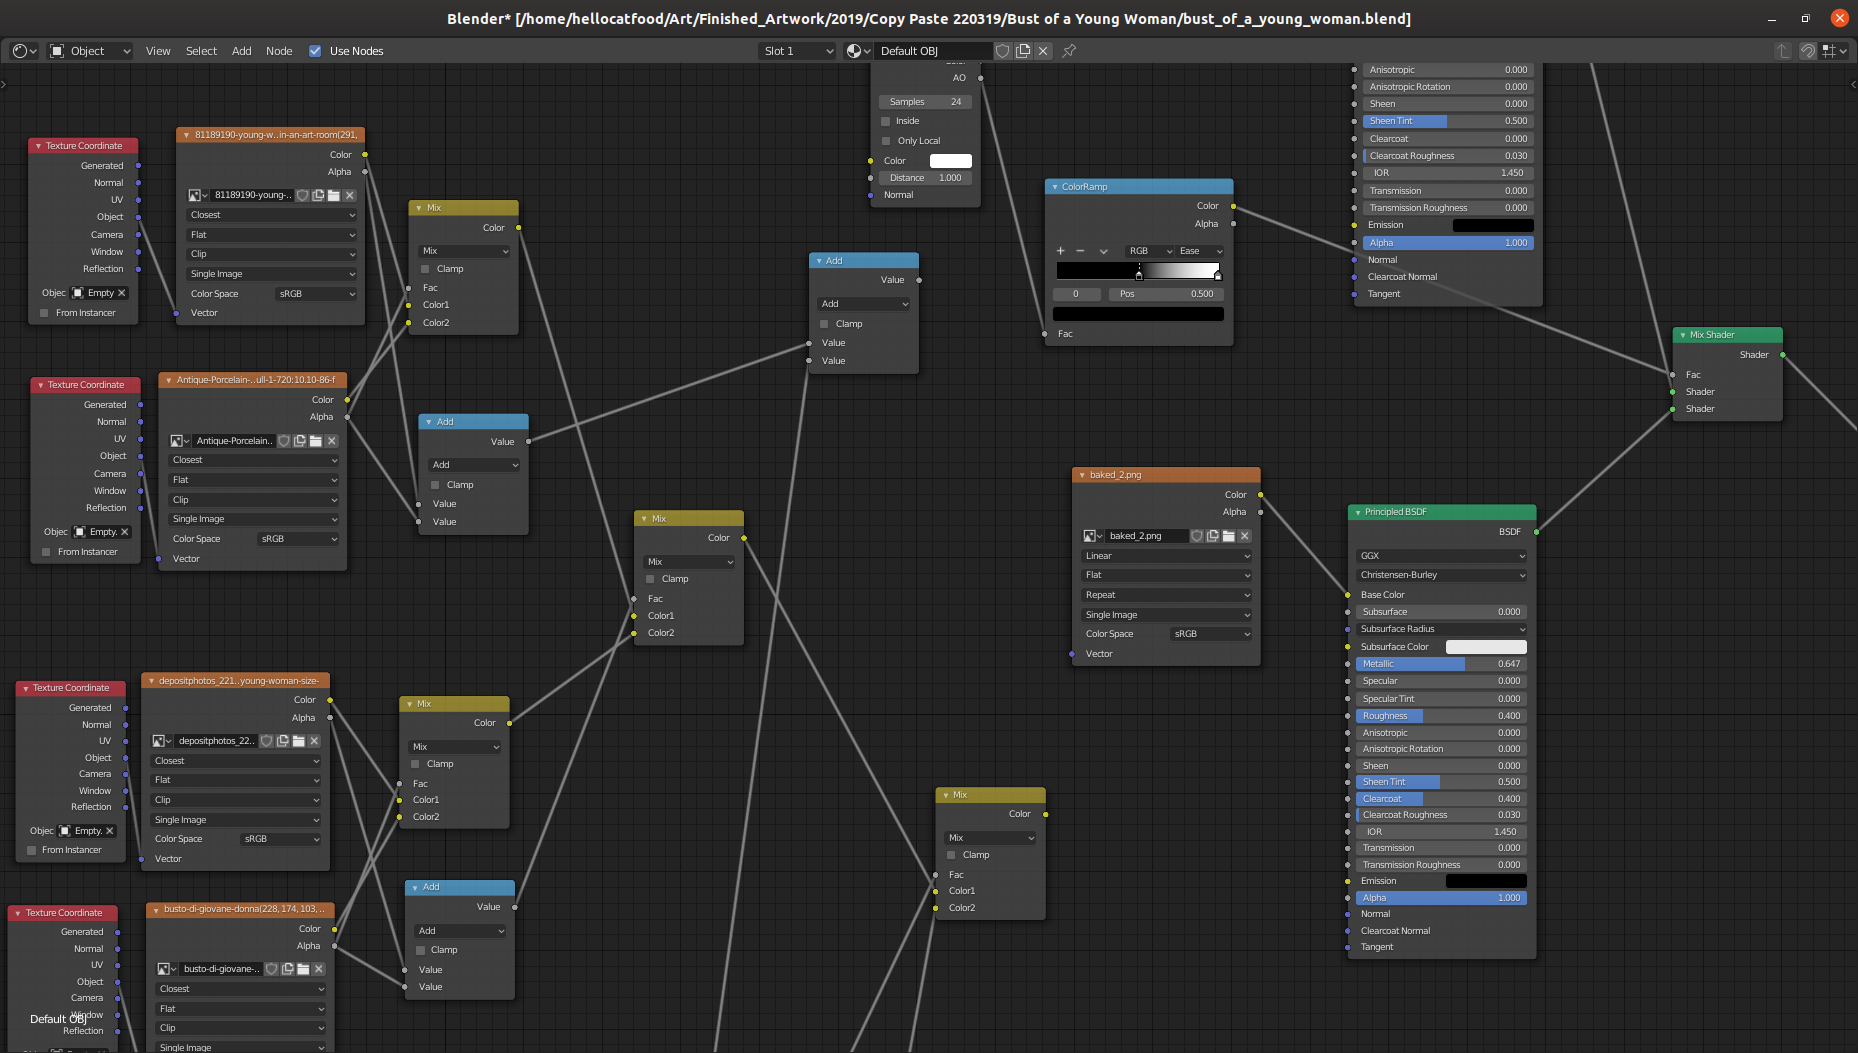
For this work I decided to use a similar aesthetic and process to Visually Similar. I talked a little bit about the process behind Visually Similar in a June’s Development Update. The node tree to overlay each of the transparent textures looked a bit like this.

Click to embiggen
Click to embiggen

When trying to do the same with the Toggler artwork I came across something weird that meant some textures just weren’t showing. So I decided to ask on Stack Exchange and Reddit why this might be the case.


Blender Wont Save You

Editor's note — 16/08/26

This blog post was originally written in 2019 but I have decided to publish it in 2026 even though much of it is now irrelevant. I think some of the advice is a bit naive but the overall intention of encouraging people to get involved long-term is well-intentioned.

Sometimes my activities in open source land don’t involve programming. Occasionally I write tutorials or frequent software forums and try and help other people. One forum that I’m occasionally on is the Natron forum. For those that don’t know Natron:


Typewriter text effect

For the Algorave at British Library in April I was asked to make a promotional video for it, which proved a difficult but for a very specific reason. I wanted to emphasise the liveness of live coding and show code being typed. For this I used the code supplied with Alex McLean aka Yaxu’s excellent Peak Cuts EP.

Typewriter text effect

The effect of having the text appear word-by-word or letter-by-letter is often called the typewriter text effect. I’ve previously written about how to do this in Pure Data/GEM. I needed to have a bit more control than what I got in PD, and I needed to export as transparent pngs so this solution wouldn’t work.


Convert Object texture coordinates to UV in Blender

Making digital art is quite a lengthy process and even moreso if you’re using non standard processes or making your own software. For awhile I’ve wanted to write about my processes and how I’ve overcome the bugs and problems. In what will hopefully be a regular series of blog posts I’m going to give a bit of insight into this process. In a way it’ll be a tutorial. Let’s go!


Blender School, 12th - 29th May 2018

On 12th, 26th and 29th May I’m going to be running a three-part workshops series focusing on how to use Blender.

Blender School, 12th - 29th May 2018

Blender is a popular free and open source 3D modeling program used by professionals and amateurs for 2D/3D animation, making assets for games, video editing, motion graphics, compositing and more.

Blender school will be a three-part workshop series that will act as an introduction to the software and its features. In these workshops you will be introduced to basic concepts of animation and navigating 3D space, eventually progressing to more advanced concepts and techniques such as particle generators, sculpting and compositing.


An Introduction to 3D Scanning and Printing, 14 - 16th May

Black Hole Club (the thing that I run) has teamed up with Workshop Birmingham and Backface to present a 3D Scanning and Printing workshop.

3dprintingscanning

Part 1: Saturday 14 May, 10am–5pm. Venue: Eastside Projects

Led by Tim Milward of backface, a 3D scanning and printing company based in Digbeth, this practical workshop will introduce you to Photogrammetry a 3D scanning process that combines multiple photographic images to create high resolution textured digital ‘objects’ which can be 3D printed or used in digital contexts.


Making Light Under The Door

On 23rd March the video I made for Light Under The Door by My Panda Shall Fly was released to the public. If you haven’t seen it already, check it out!

This represents a bit of a departure from my usual visuals that feature an onslaught of colour and movement. The track itself is very mellow and dream-like. Having very glitchy visuals just wouldn’t have worked well for this. My approach to making a video for this song was to have a central abstract object that grew and morphed as the song progressed. The background and surrounding objects would move in an erratic but controlled nature, and occasionally the underlying wireframe structure of the environment would be revealed.


Preserving the glitch

On Thursday 4th March I took part in the AntsArtJam at BitJam in Stoke-on-Trent. Three canvases were set up on the stage and artists were invited to get creative on them as the night went on.

Antonio Roberts (by These Ants)
Photo by These Ants

Those who know me will know that live art is not something that I’ve really done before. I’ve done a fair bit of performing, but nothing like this, so it was quite an exciting challenge.


Making a Disco Ball using Blender and Inkscape

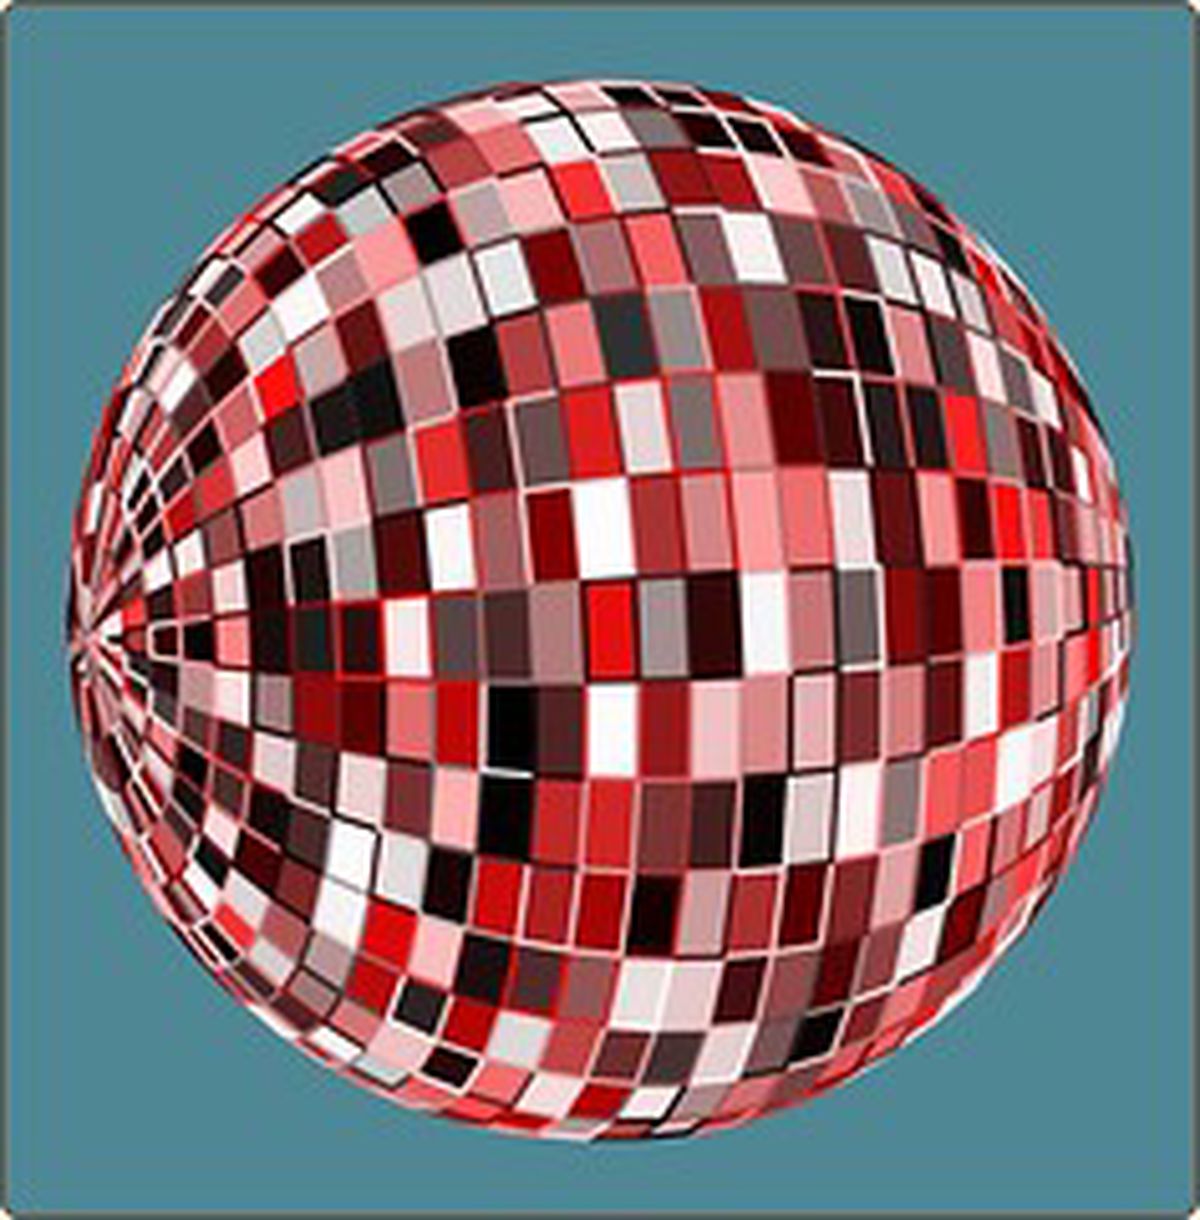
Awhile back I started doing a few experiments using Blender and Inkscape together. One of my creations from this was a ball.

Blender/Inkscape Sphere (by hellocatfood)

Recently one Inkscape user created a tutorial describing how to make a disco ball directly in Inkscape. Looking back at that ball that I made it kinda resembles a disco ball, so I decided to write a tutorial on how I did it.


Blending Inkscape and Blender

One of the things I’ve always wanted to do is to work on an image in a 3D environment but then export the resultant image to an svg. Being the open source nut that I am my main weapons of choice are Blender for 3D work and Inkscape for vector. These programs have their advantages and their disadvantages. The main advantage they have over many similar programs is that they’re open source and free. They’re very capable products and are used quite widely and are being actively developed. In fact, Inkscape is getting ready to release version 0.47 (I’ve used a prerelease and it’s awesome)


More Blender Renders

Since my last post about using Blender with vectors I’ve explored taking vectors into it and then exporting jpegs. Below is an image I stated creating awhile back in Inkscape but never finished.

Click for full size
Click for full size

This is what it looks like after I’ve taken it into Blender and messed around with it a little bit

Render from Blender. Click for full size

Pretty snazzy! I’ve still got a bit of composition techniques to figure out, but once I do I think I might take my vectors into Blender more.


Blender renders

For the past month or two I’ve been getting my head around Blender to do some 3D modelling. It’s a tough program to learn, but with the aid of some very useful tutorials and strong community support I feel I’m getting somewhere!

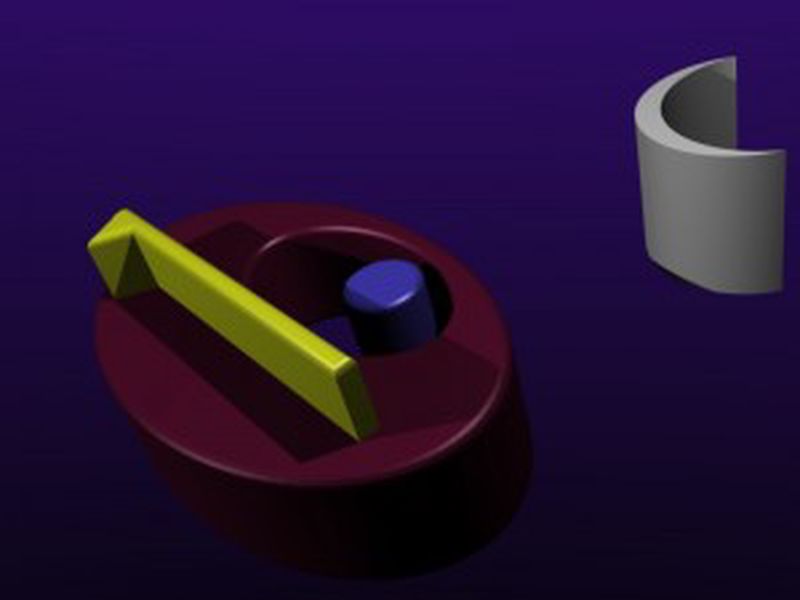
As well as using Inkscape to make vectors I want to explore the possibilities of using Blender to render 3D models as vectors. There’s so many benefits of this approach as long as it works. To do this I’ve tried out to vector rendering scripts written in the python programming language, VRM and Pantograph. VRM was easy to install - just dropped the file in the scripts folder - but Pantograph was a bit more problematic. If you’re going to install it make sure you have the right Python libraries installed! Here’s the original Blender output: