The Stay at Home Residency - part 1
From 1st - 29th July I was happy to be selected as an artist in residence for The New Art Gallery Walsall’s Stay at Home Residencies.
The New Art Gallery Walsall has adapted its Studio residency programme in the wake of the Coronavirus pandemic to support three artists based in the West Midlands to produce work from their homes between May and July this year.

Following an open-call to artists based in the West Midlands, the Gallery received 60 varied proposals from a diverse range of artists working across the region. The many challenges that artists are facing during lockdown were well articulated. In selecting, we were keen to see opportunities for artistic and professional development during these challenging times, to support creative approaches to practice amid imposed restrictions and to explore the benefits and possibilities of sharing with an online audience.
It’s been some months since the residency ended and I really learned a lot. In this three-part blog post series I’ll be talking a bit about the month of learning and creating, the struggles I had, what I did to overcome them, and some of my thoughts on the final outcome. In this first blog post I’ll be going over my research and influences.
My reason for doing the residency was to explore ways of making work without a computer. Quoting from my application:
Creating my digital video works is a very stationary process, requiring me to spend long hours sat in my home office at my desk on the computer. I have long had a desire to step away from the desk and learn film and sound production techniques. I already own much of the required equipment including a DSLR camera, microphone and tripod. I have mainly used these to document events or exhibitions.
This residency would grant me the opportunity to step into learning film production techniques. I will study available materials (digital books and tutorial videos) and implement what I learn when creating the films.
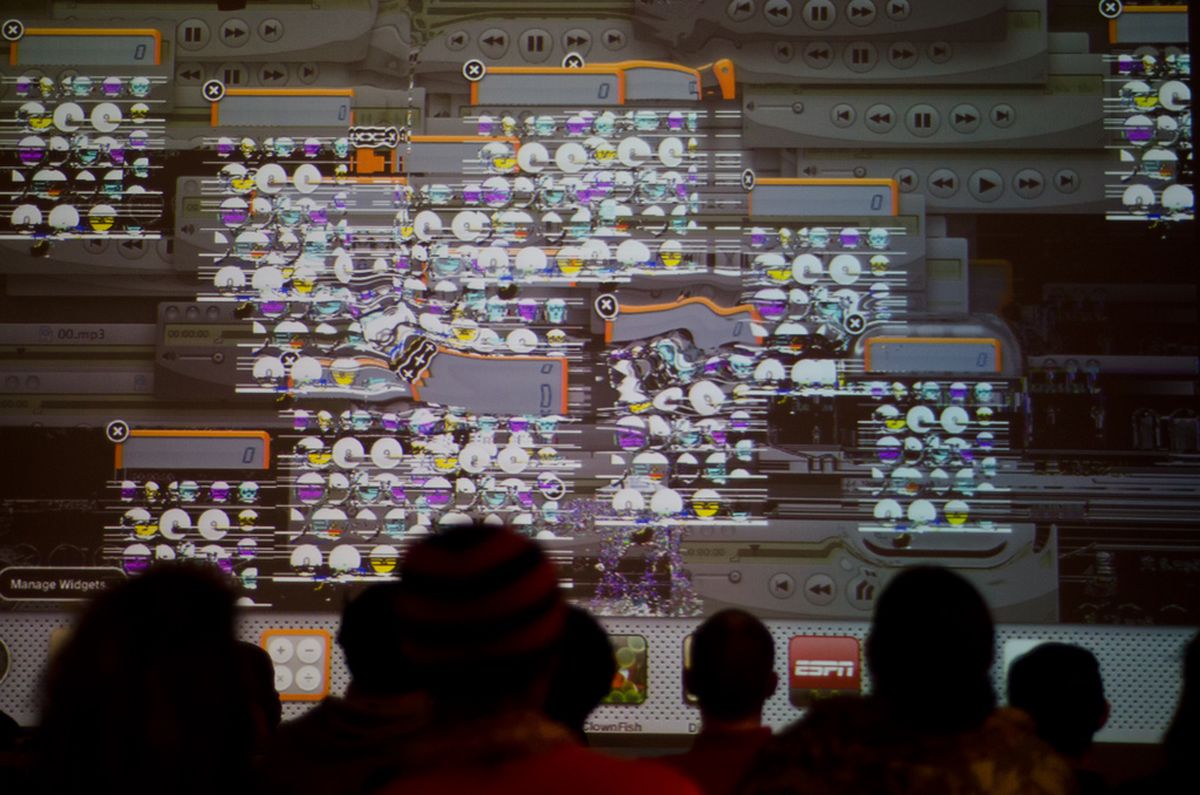
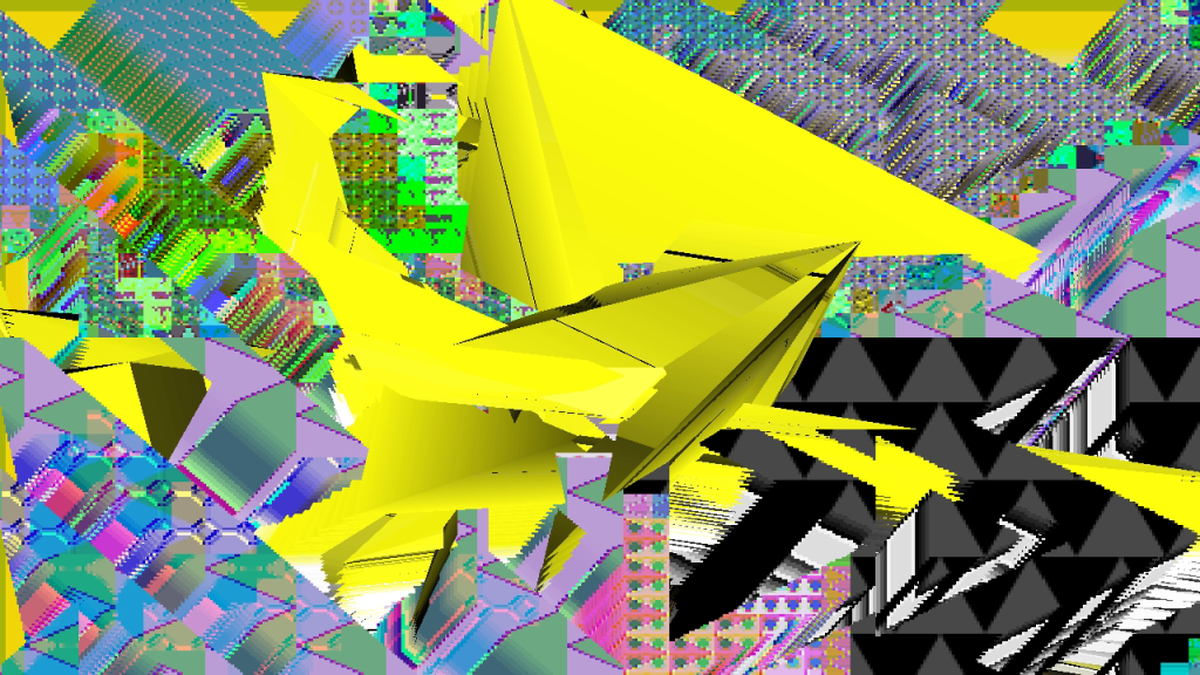
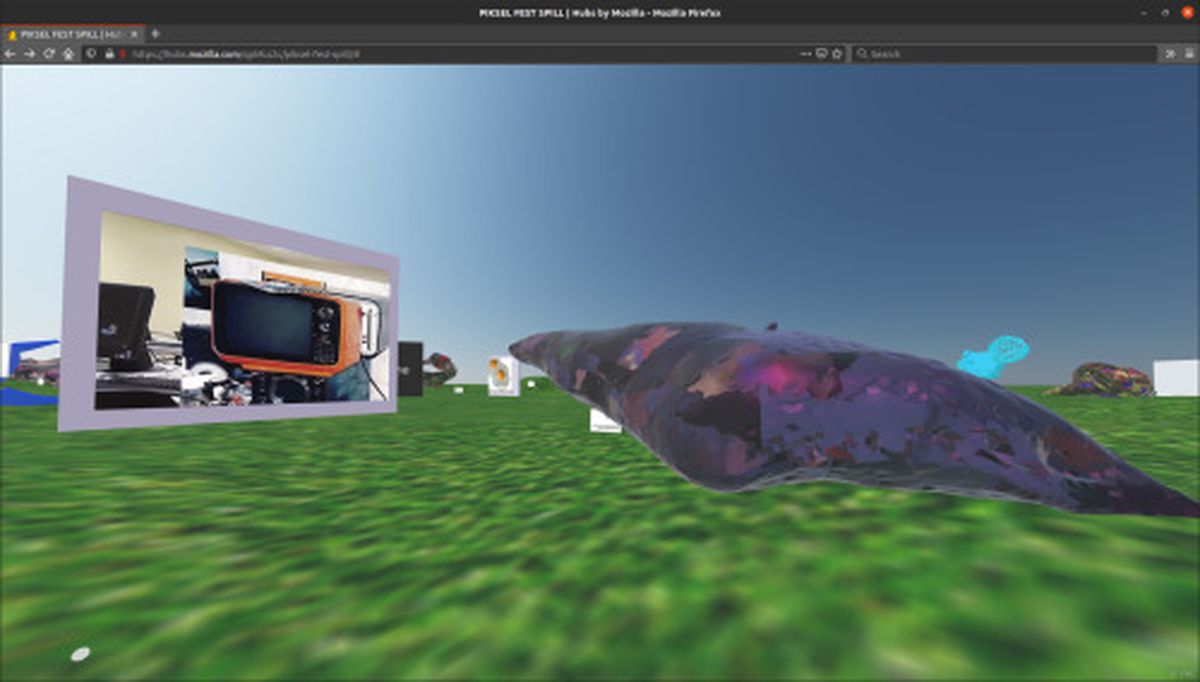
Looking back over the last 10 years of my practice I have noticed that most of my work has been computer generated videos and animation.
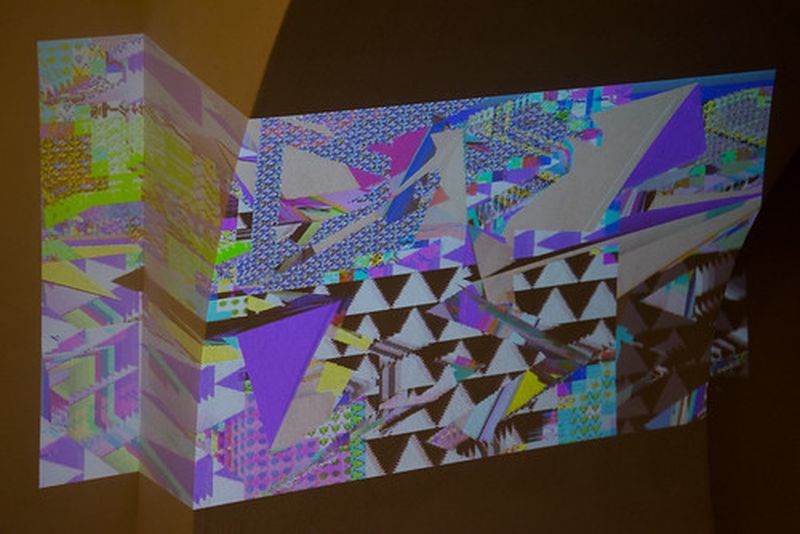
Most of these works are generative and, much like animated gifs, they don’t have an extensive narrative and are best viewed on repeat. This isn’t a downside to the works, but making something with a narrative using filmed footage was definitely of interest to me for this residency.
I began the residency exploring the technical processes involved in film making. I have used cameras for a long time but often I don’t explore their full capabilities. I usually just leave the settings on Auto and most of the time it works out fine! This is similar for lenses. The camera I owned at the time of the residency was a Olympus Pen F together with a 45mm and 17mm lenses. I only ever really understood that the former is good for portraits and the latter for landscapes/outdoor but still didn’t understand why.
I wanted to understand this and more so spent a lot of time watching videos and reading tutorials. Two really interesting videos were The Changing Shape of Cinema: The History of Aspect Ratio and The Properties of Camera Lenses from Filmmaker IQ.
These two videos, and the many others I watched late one evening, went into far more detail than I needed about film, the history of cinema, and equipment. I also didn’t own 99% of the equipment and resources the videos mention, but it was really interesting to know how all those things go into making a film and achieving a certain cinematic look.
The next set of videos that was really insightful was the Crash Course Film Production series of videos. The Filmmaker IQ videos focused on specific details about film making whereas these videos were perhaps more relevant to me as they were produced from the viewpoint of someone with no knowledge wanting to know what goes into making a film. The third video in particular, The Filmmaker’s Army,is particularly enlightening as it explains a lot of the roles in a film production and how each work together to make a finished film.
One of the main things I took from watching this series of videos is that there is a lot of planning that goes into a film. Depending on the scale of the project the time between writing a script and filming can be years! And when on a film set a lot of the roles are there to ensure each person is doing the correct things at the right time.
Although all of this was really exciting and inspiring to learn at the beginning of the residency there was one big problem: Almost all of it would not be applicable to me at this time. Quoting my application:
Using tools and materials I have in my home - which include programmable lights, a projector, screens, and other electronics - I want to create a series of short abstract films that explore the use digital art, light, and projection to illuminate my home and immediate surroundings. The everyday objects in the home, the grass outside, the brickwork and more will act as both creative material and canvas for abstract projections.
I was strict in my desire to create a film only within the home. This meant that I couldn’t acquire stage lights, microphones or other equipment. I had to use whatever I had in whatever filming conditions I was given. Still, These restrictions could hopefully provide inspiration.
Early on I struggled to make anything interesting. I filmed whatever I could find in my home but it was all very static and at times boring. It was then that I realised that the domestic environment, especially during lockdown, is a pretty boring place! In my household there are only two people and the environment doesn’t change that much. It’s not like the outdoors where the environment changes, or like a gallery space which can reconfigured and has access to lots of equipment. In short, everything is just static. I was very worried that whatever I made would be very boring to watch.
I started to look to other films and artists for inspiration. I was browsing Mubi one day and saw a movie called Villa Empain by Katharina Kastner. I had no idea what it was about at the time but it was short and gave me a distraction from the panicking!
It turned out to be exactly the kind of film I needed to see. To me it was a series of animated portraits of the Villa Empain building. A lot of the shots in the film were static, featuring minimal movement from the pool water, trees, or sun shining through the stained glass windows. It was quite a meditative film. It helped to show me that a film didn’t need to be action packed to be interesting.
I also remembered the work of Rodell Warner (having first seen their work in 2019 at bcc:). In his Augmented Archive series he’ll take an archive picture, add a drone soundtrack to it and animate it using a flickering effect (plus his own 3D sculptures). Of course there is a much deeper concept than my very technical description (and you should see more of his work to understand), but seeing his work showed me that there are ways to add depth and movement to static imagery.
In the next blog post I’ll be detailing the process of filming shots.